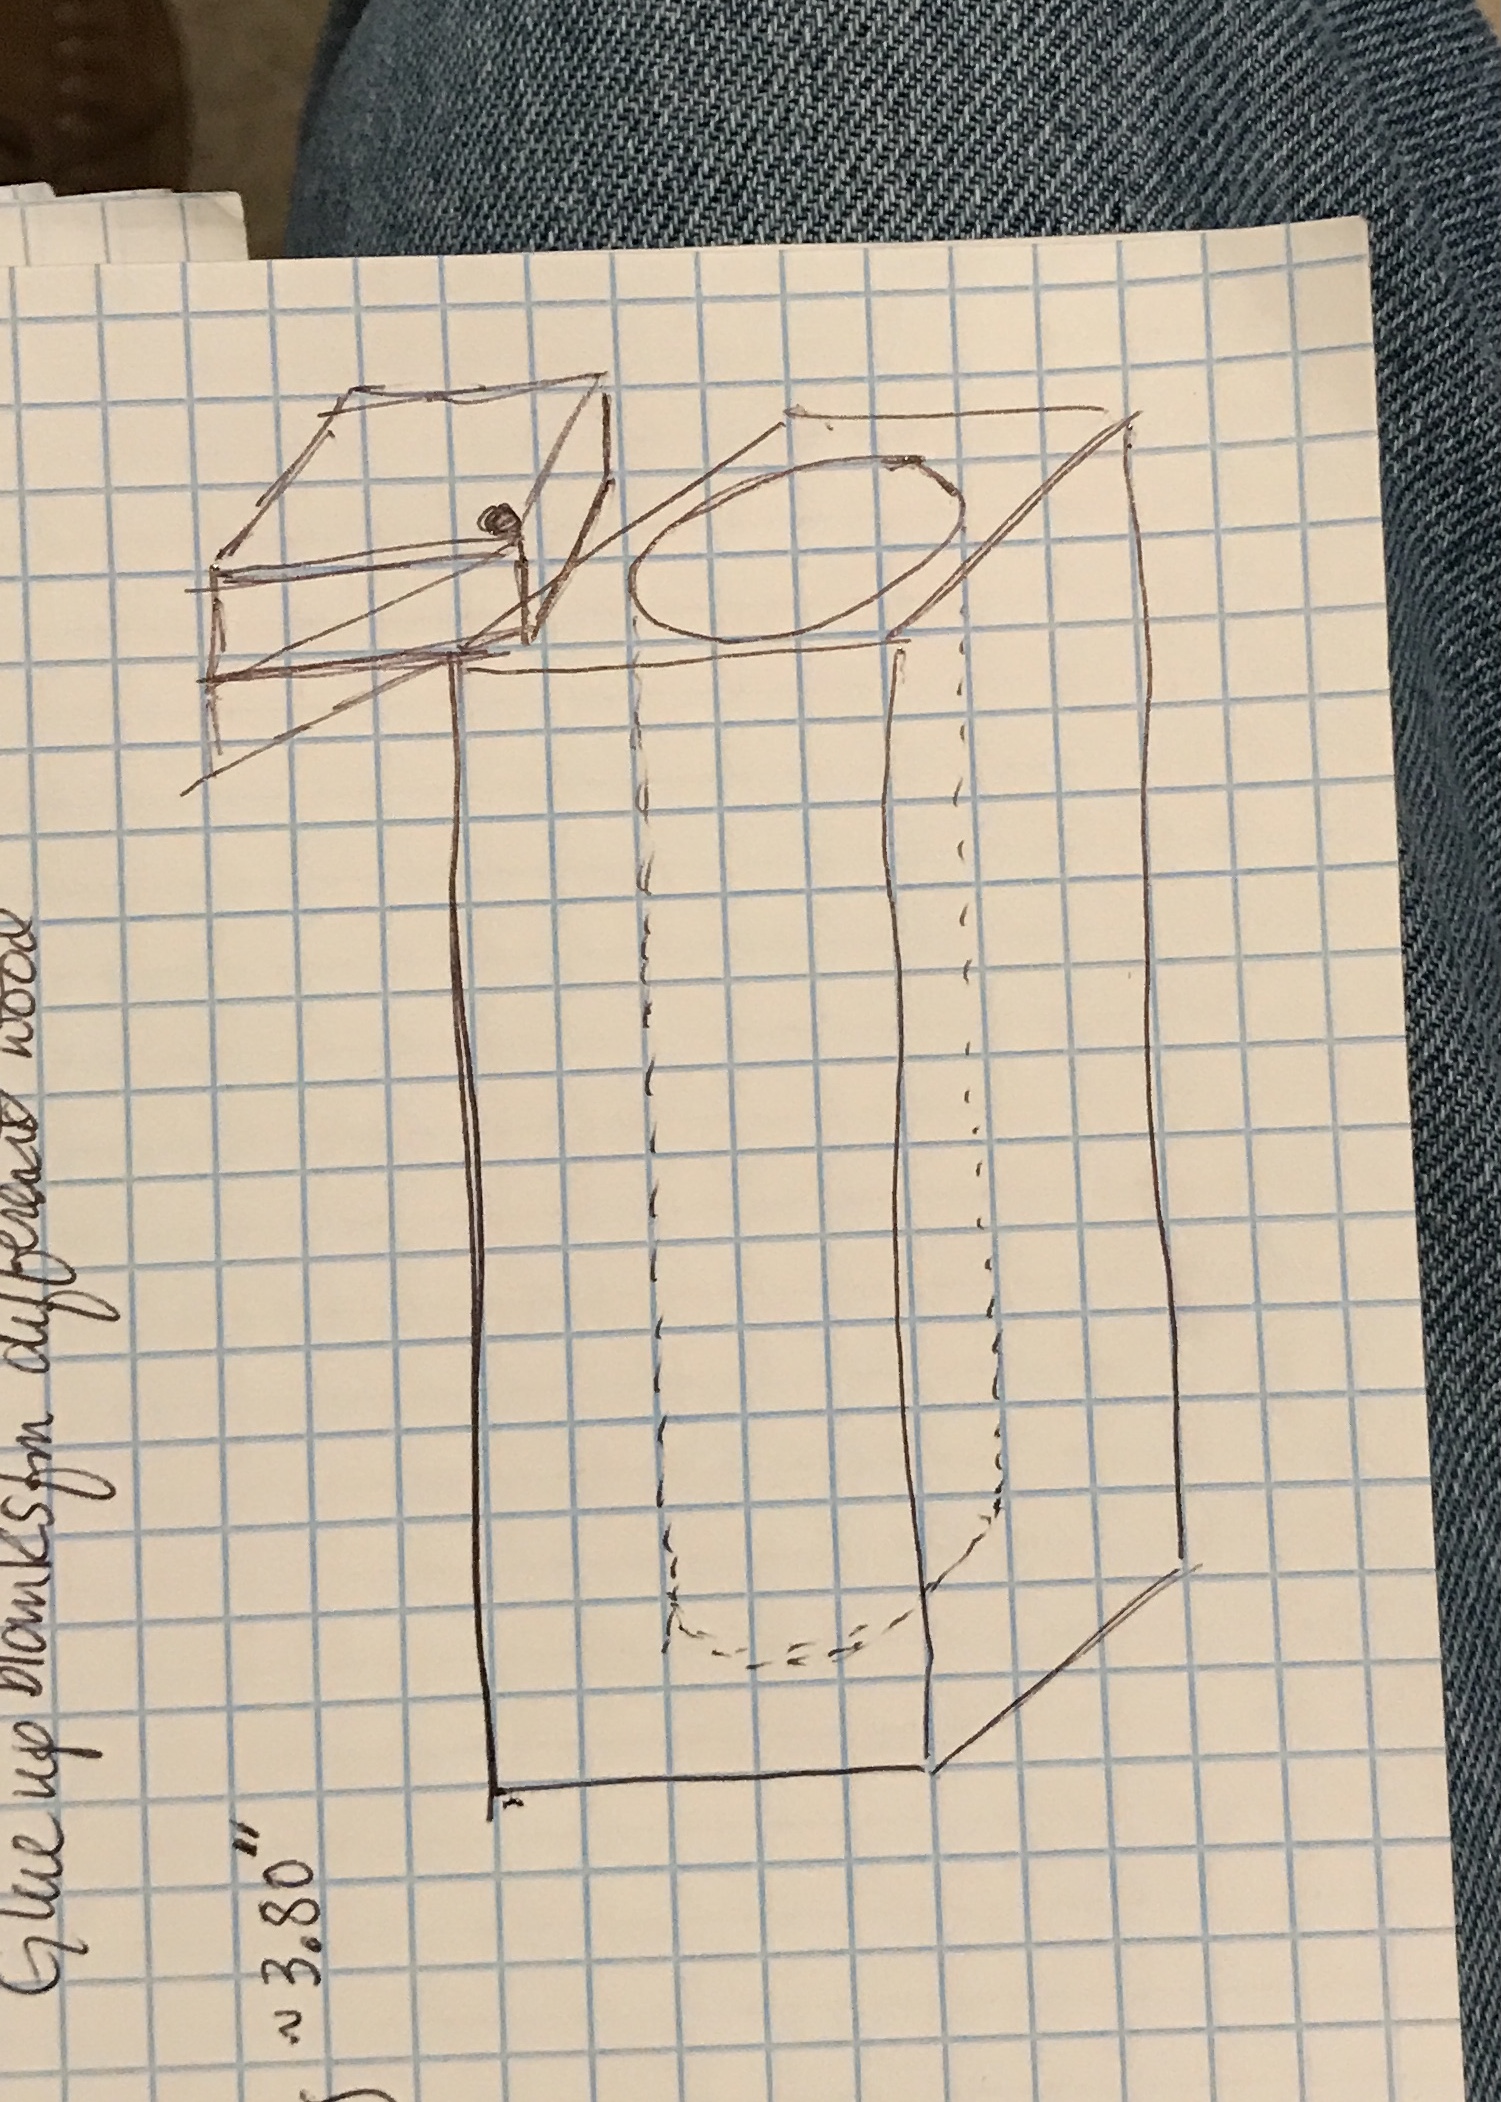
Two holders for the backgammon playing pieces are needed. A few different designs were explored. The winner is a rectangular solid with a hole bored down the middle to hold the 1 1/8" playing pieces. The pieces are 1/4" thick. Each player gets fifteen pieces, so the hole needs to be 3 3/4" deep. The top will be a swinging square design.
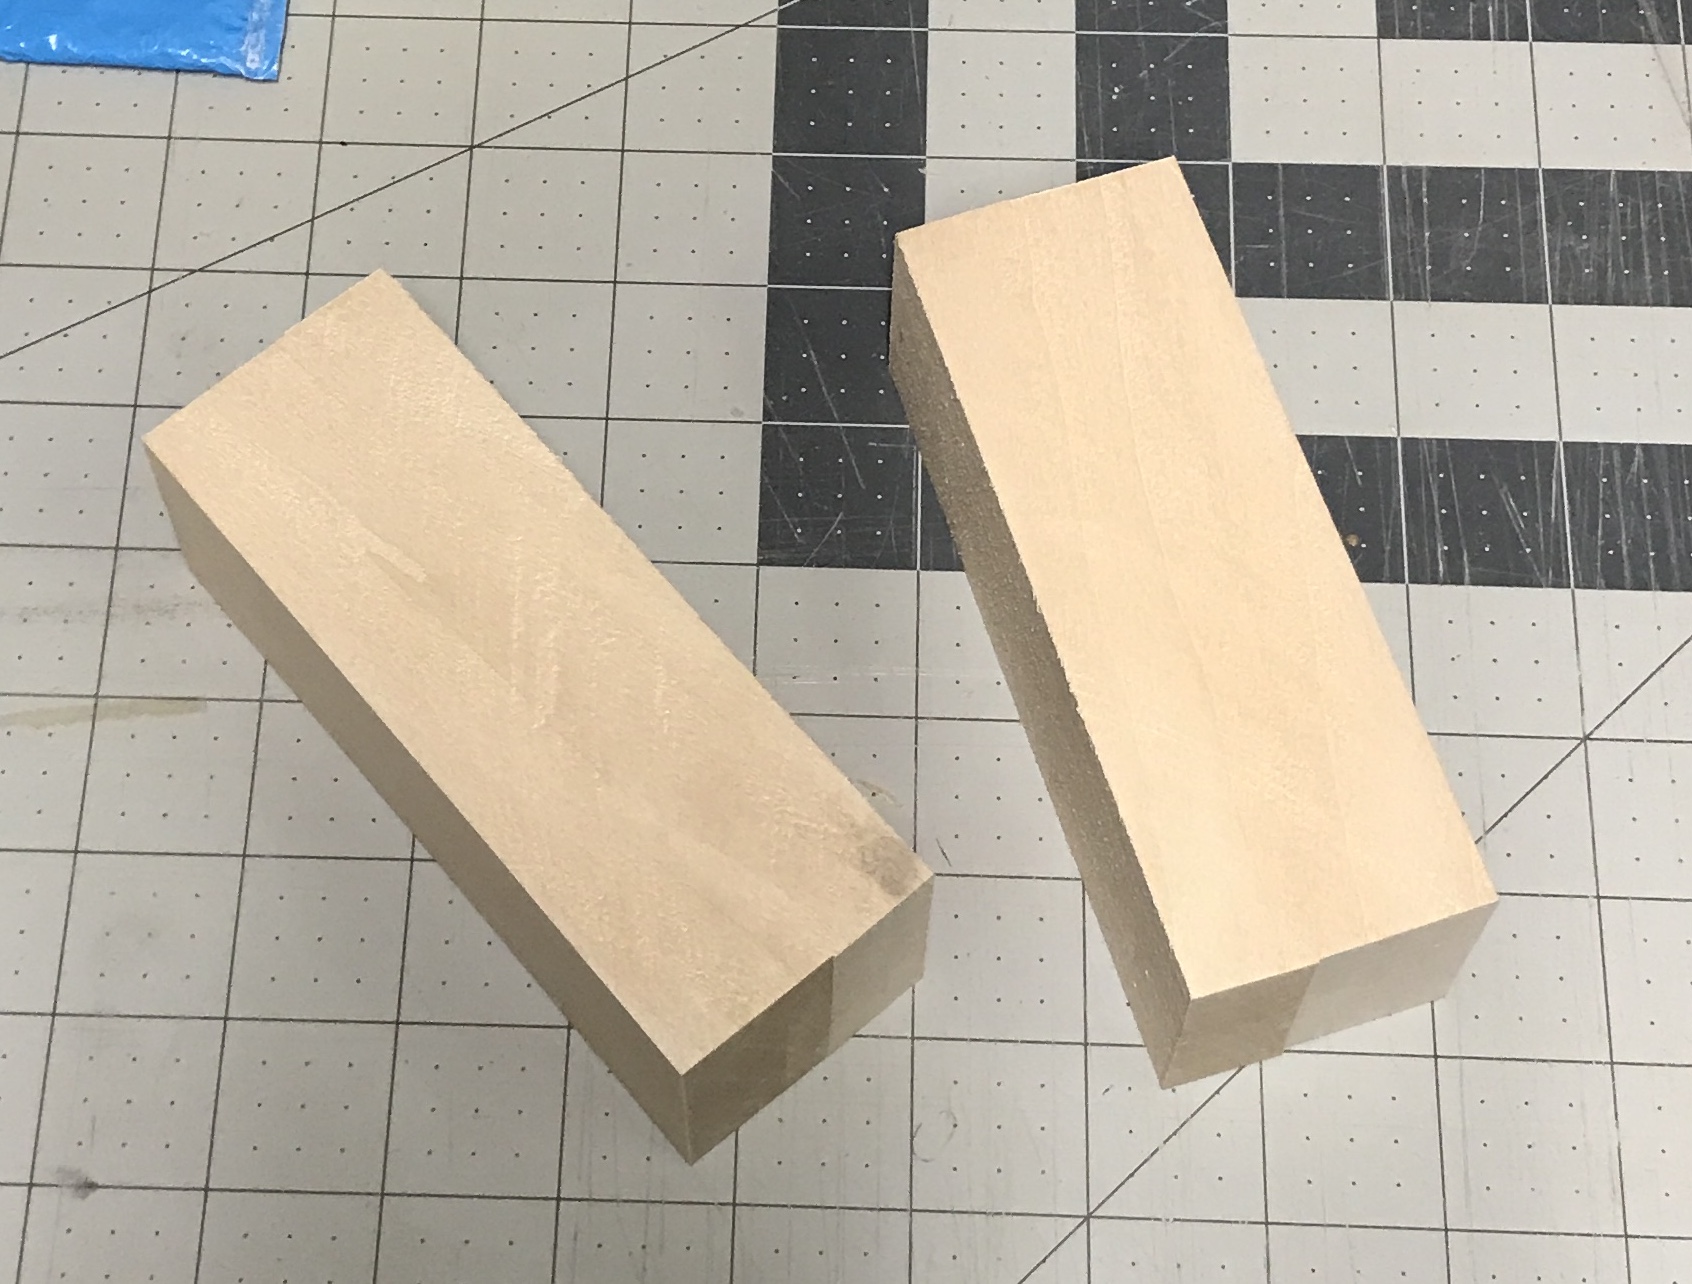
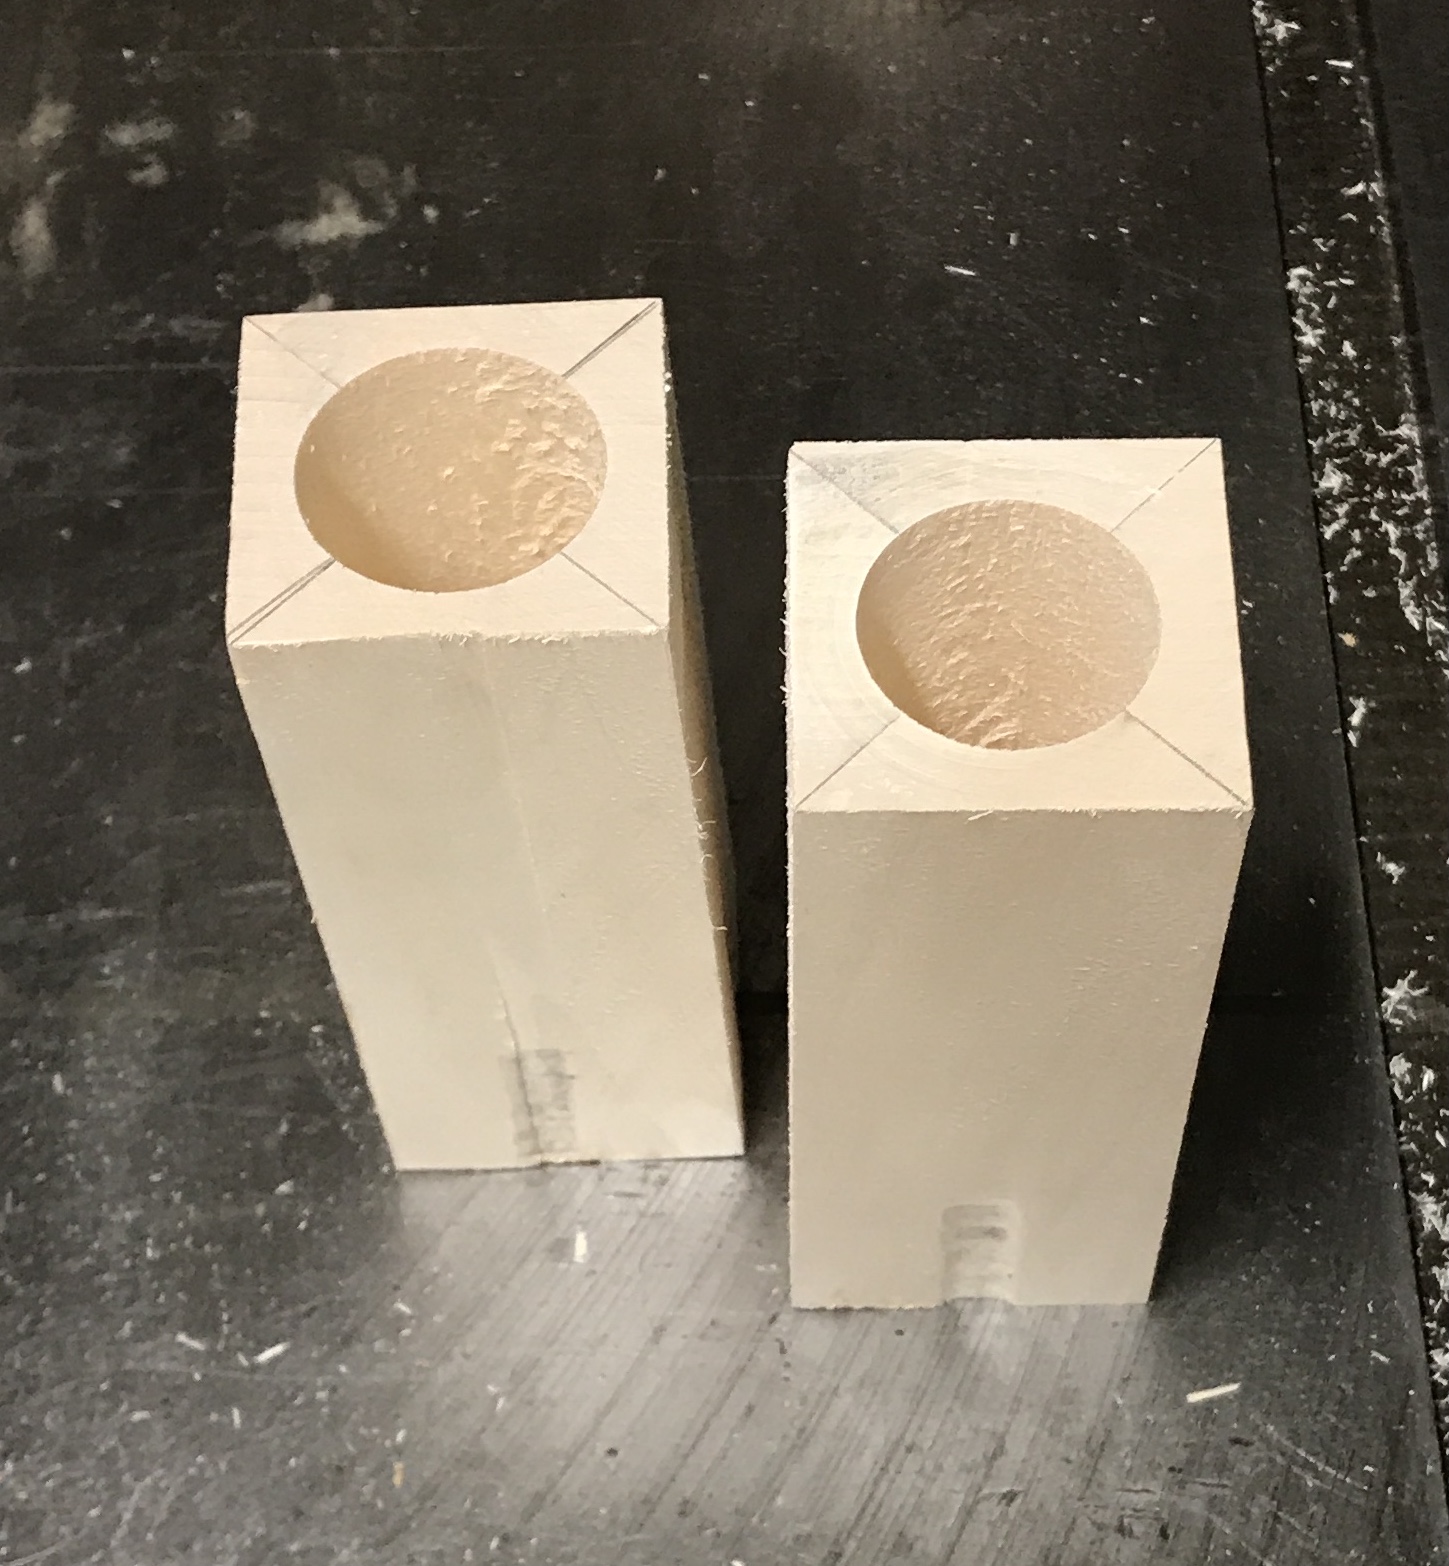
A block of white even grained wood was located. It is approximately 1 3/4" X 4" X 5". It was cut into two equally sized parts, 1 5/8" X 1 5/8" X 4" on the table saw. The two rough cut blocks are shown below.
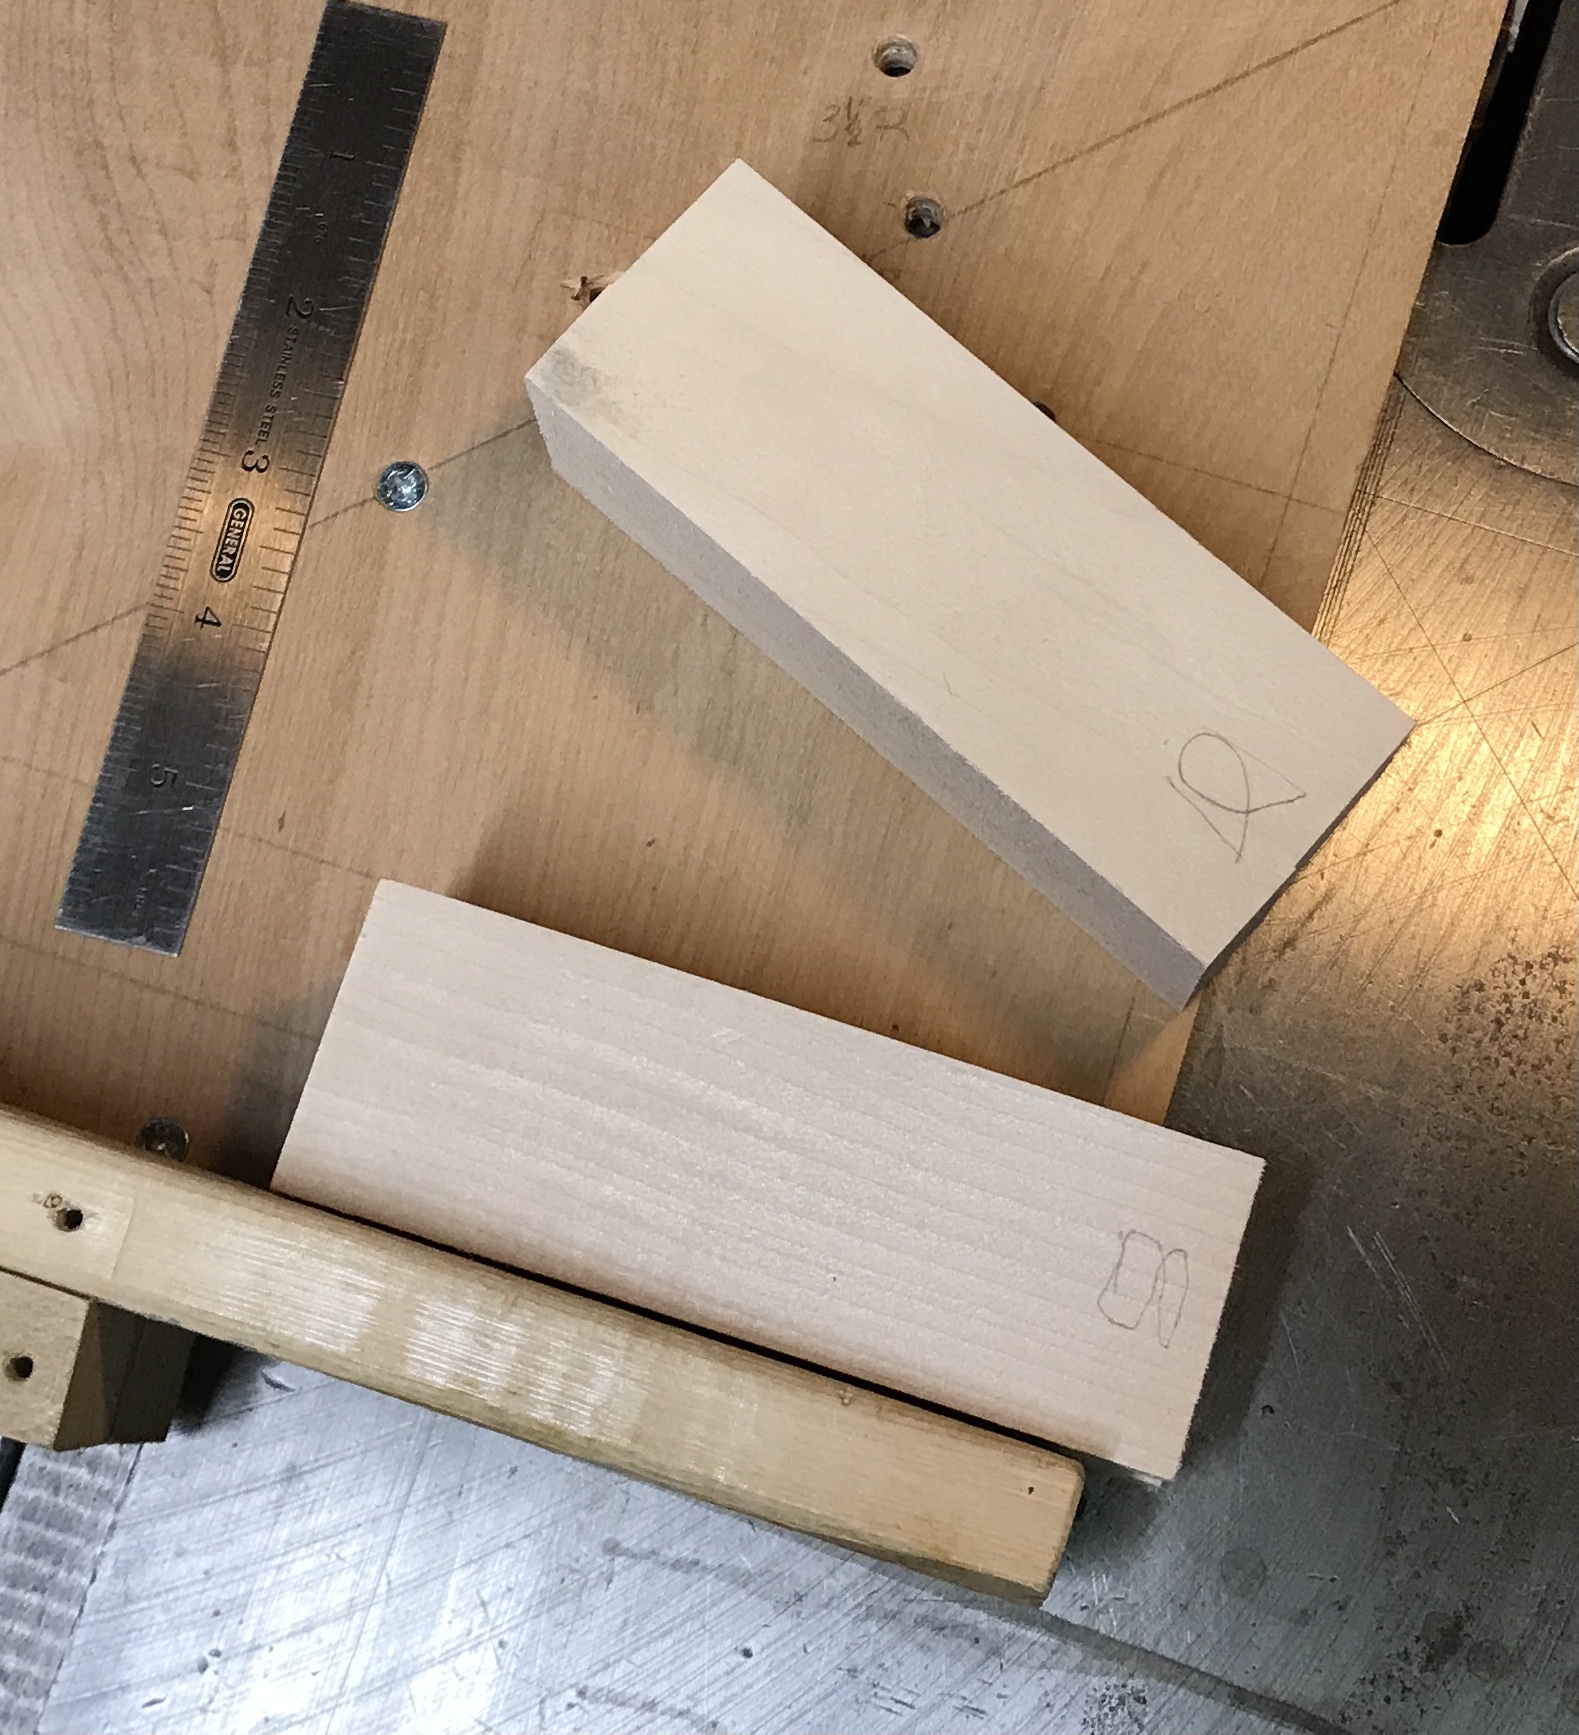
My Forstner bits provide at most 3" of drill depth. The big lathe will be used to bore at least the last 3/4" if not more. This morning the work on these holders will proceed as it is supposed to be 50° outside today. The first task is cutting off the tops for later reattachment as swiveling tops. 1/2" of material will be cut off leaving a 3/8" thick top. Both pieces were marked so the tops can be easily rematched with the correct bottoms. The photo below shows the blocks sitting on the cross sled, which will keep the cuts square.
The ends were cut off as proposed. Then it was out to the garage: 38° not 50°! A block was centered in the four jaw chuck by aligning a tailstock center with the marked center of the block. This got the blocks to within 1/16" of center. The block was then drilled up to 5/8" and bored. The boring bar was set very long such that 3 3/4" was exposed. The hole was bored right up to the height setting washer. The boring bar was moved 0.030" between cuts. The automatic feed was used to advance the boring bar. The holes were bored to 1 1/4" to make sure the playing pieces would not get stuck if entering at an angle. The entire process took two hours to complete the two holes shown below. (A cold two hours!)
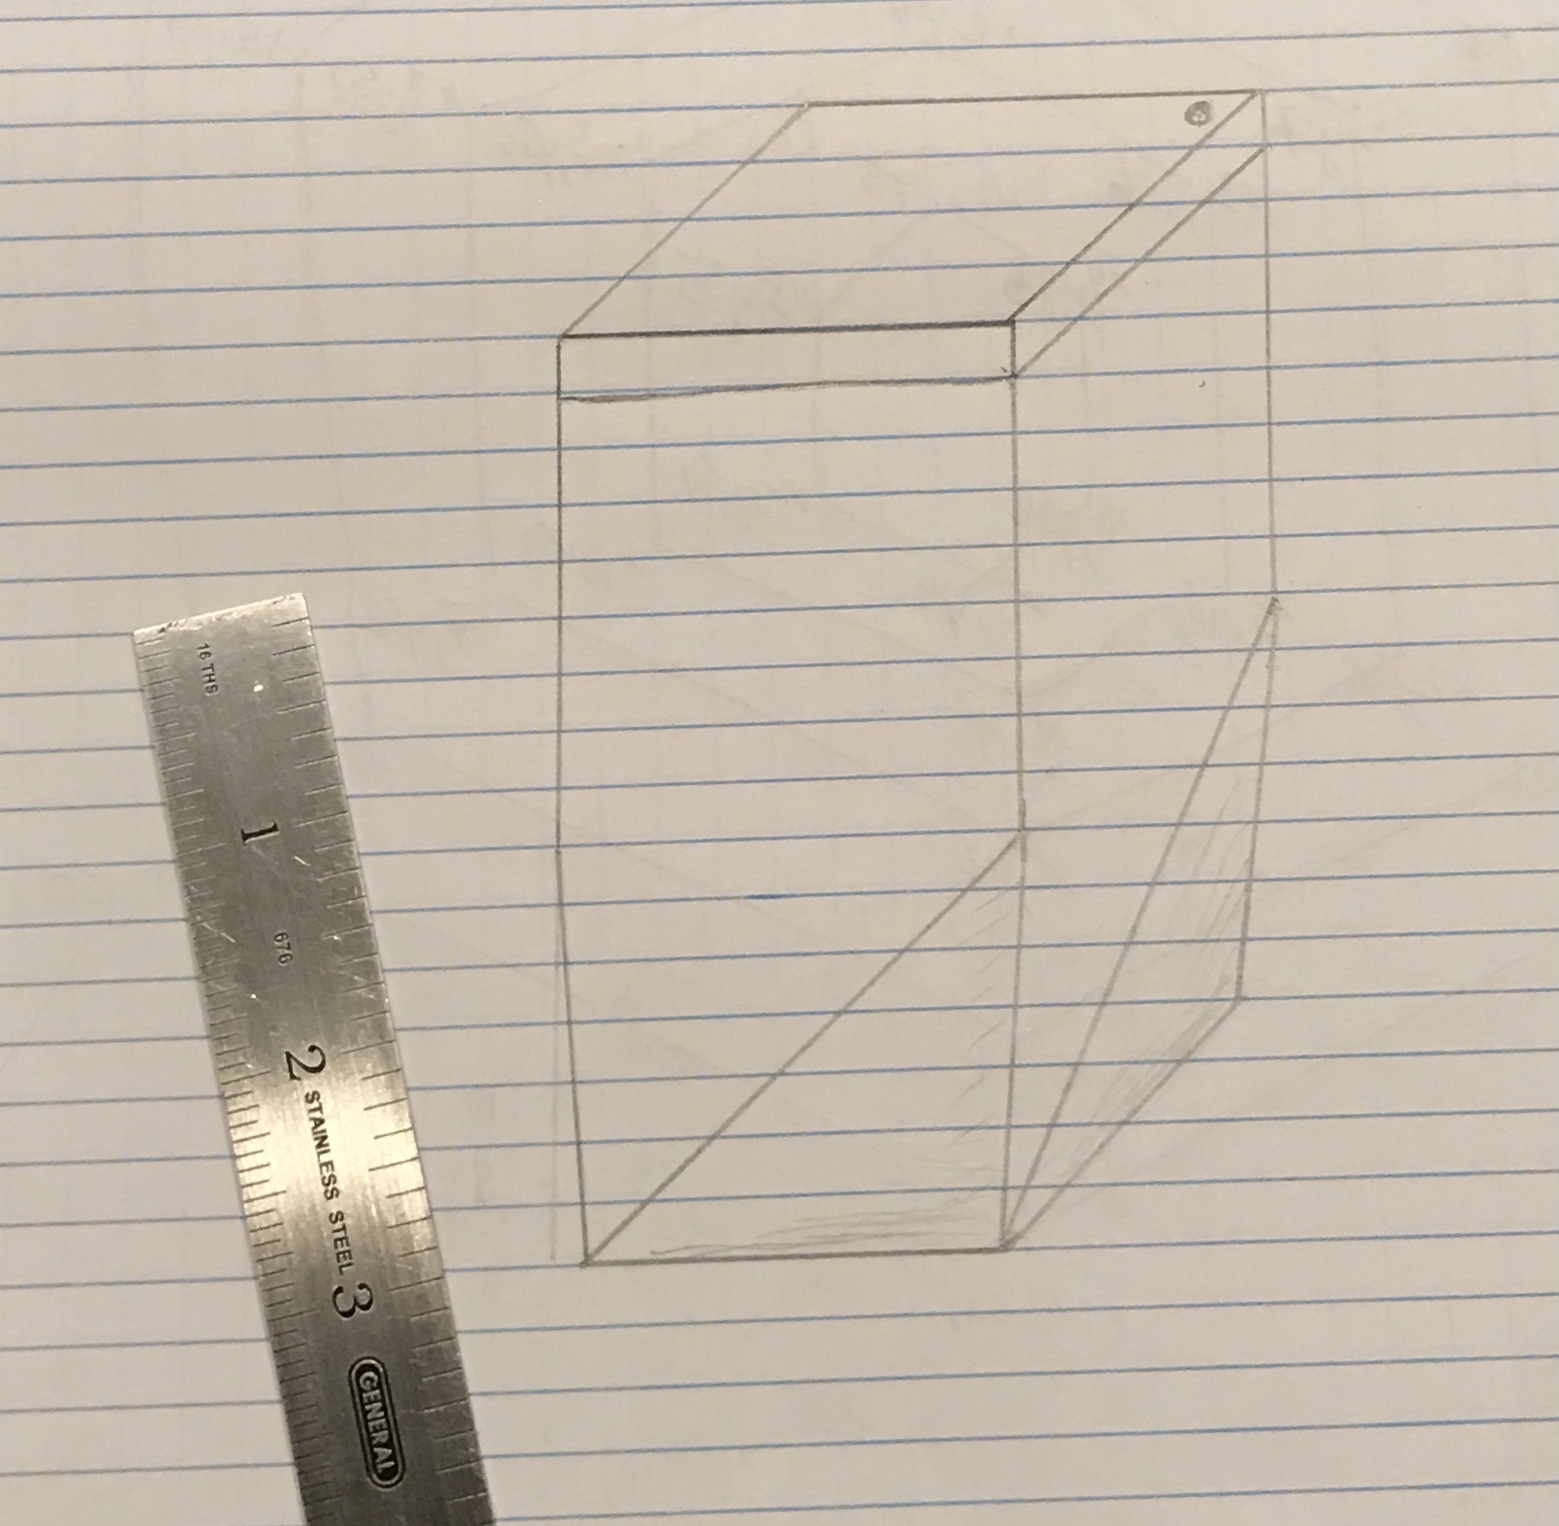
The holes are a little rough and will need to be sanded. A lot of sanding will be required on the outside to get rid of the chuck dents even though aluminum soft jaws were used. The holes were sanded with a 1" dowel with 120 grit paper affixed. This was semi-effective. The outsides were sanded to 220 grit. After thinking about dent repair and/or hiding, the latter was chosen. Many thoughts cam to mind for hiding the dents. An engraving could take advantage of the dent, but eight engravings sounds onerous. A second possibility is filling the dent with a piece of Abalam, but this leaves the bottom edge of the Abalam exposed. The third idea was a piece of veneer covering some fraction of the bottom, but again leaves exposed edges. The final idea is sketched out below. A triangular wedge of wood is removed erasing the dent and leaving a pleasing shape.
So what is the best way to remove this material leaving crisp edges? The three possibilities that come to mind are rasp/sand, spokeshave, and table saw. The table saw would certainly be the most accurate and reproducible. A jig would be required to hold the playing piece holder at the correct angles. This compound angle cut looks like a difficult problem to solve.
Put the fifteen new pieces into the holder this morning. They don't fit!! The last piece sticks up by 1/16"-1/8" in both holders.
Before tackling the problem of the chuck jaw imprints comes fixing the hole depth. After considering a few alternatives, gluing the lid on and drilling through it seems the simplest solution. In order to make the juncture between body and lid add value, a few layers of dark veneer will be glued between producing a dark line. The veneer should be cut oversize and sanded to fit. Hole alignment will be a challenge. This issue can be minimized by aligning the hole with the drill on the drill press: two perpendicular stops are set, the top is glued in place, the holder is returned to the stops, the top is drilled through.
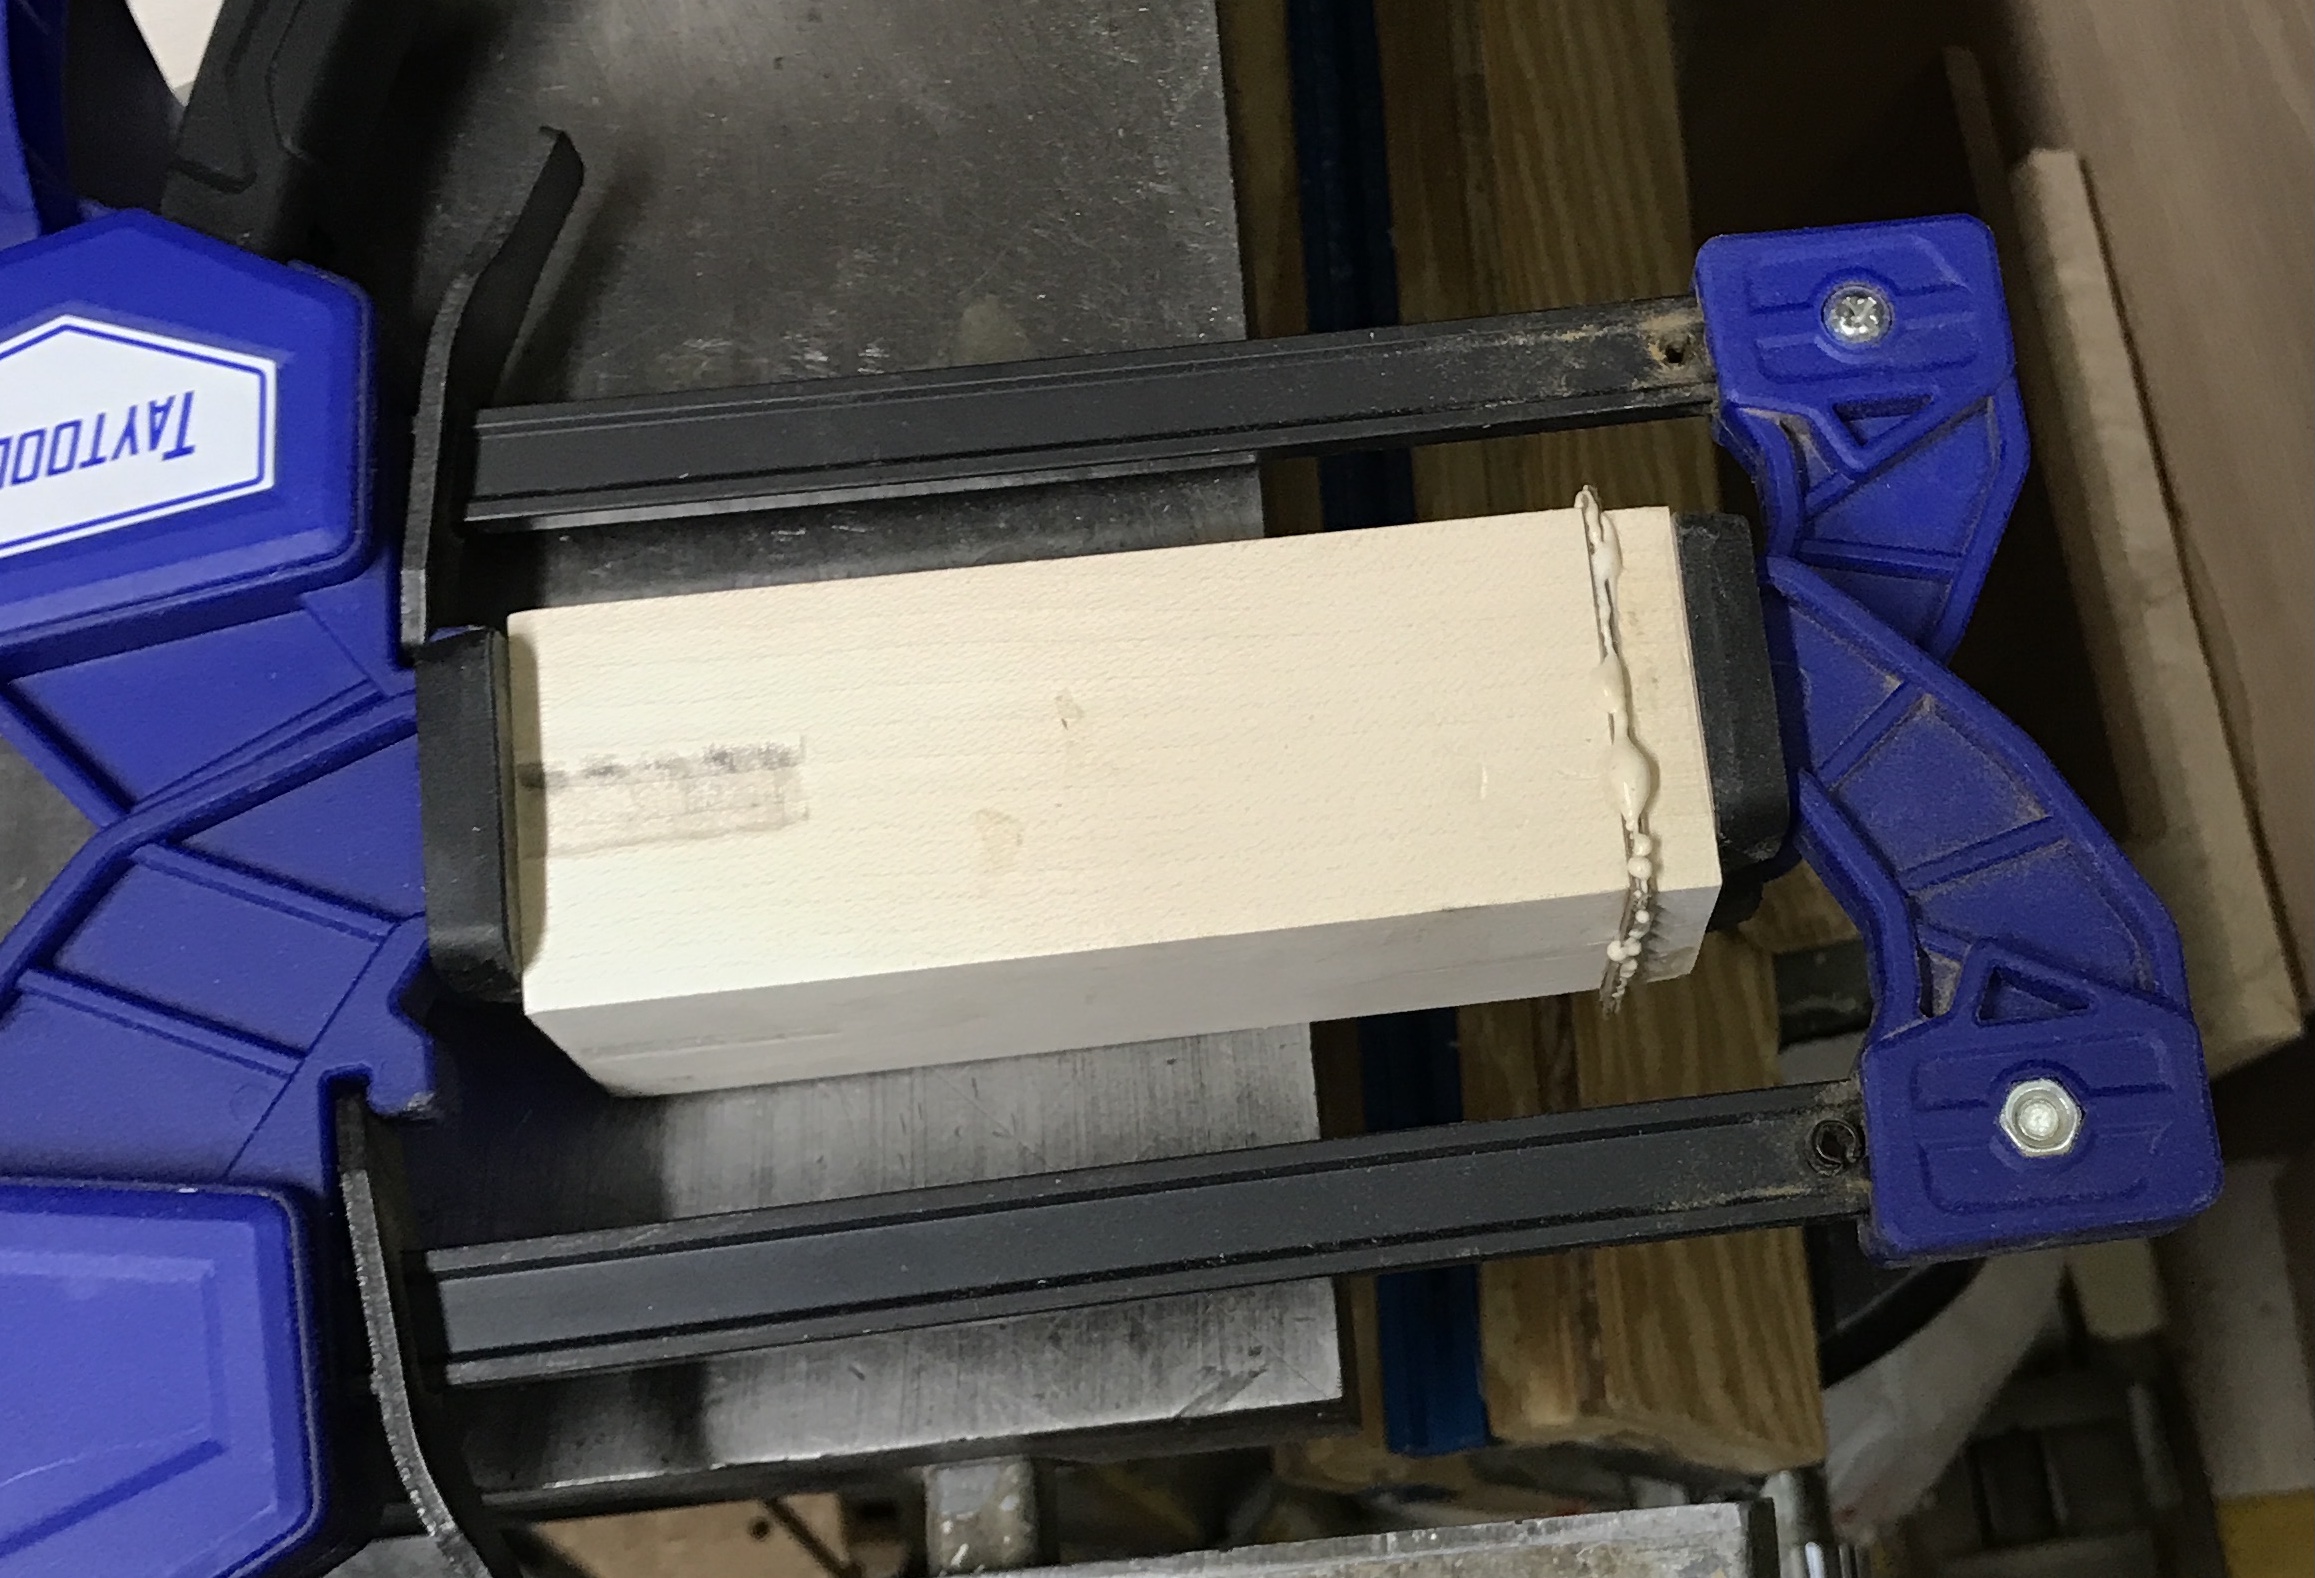
To this end six 1 13/16" squares of the background veneer were cut. Stops could not readily be setup due to clamping issues, so the bottom corner of the holder was outlined with pencil lines after aligning the drill. The lines and the holder were labeled. Glue was applied to the to rim of the holder, a layer of veneer was applied, more glue between two more layers of veneer and finally more glue and the top. Two clamps were used to press down on the lid as seen in the photo below. Dealing with lid migration during clamping was challenging.
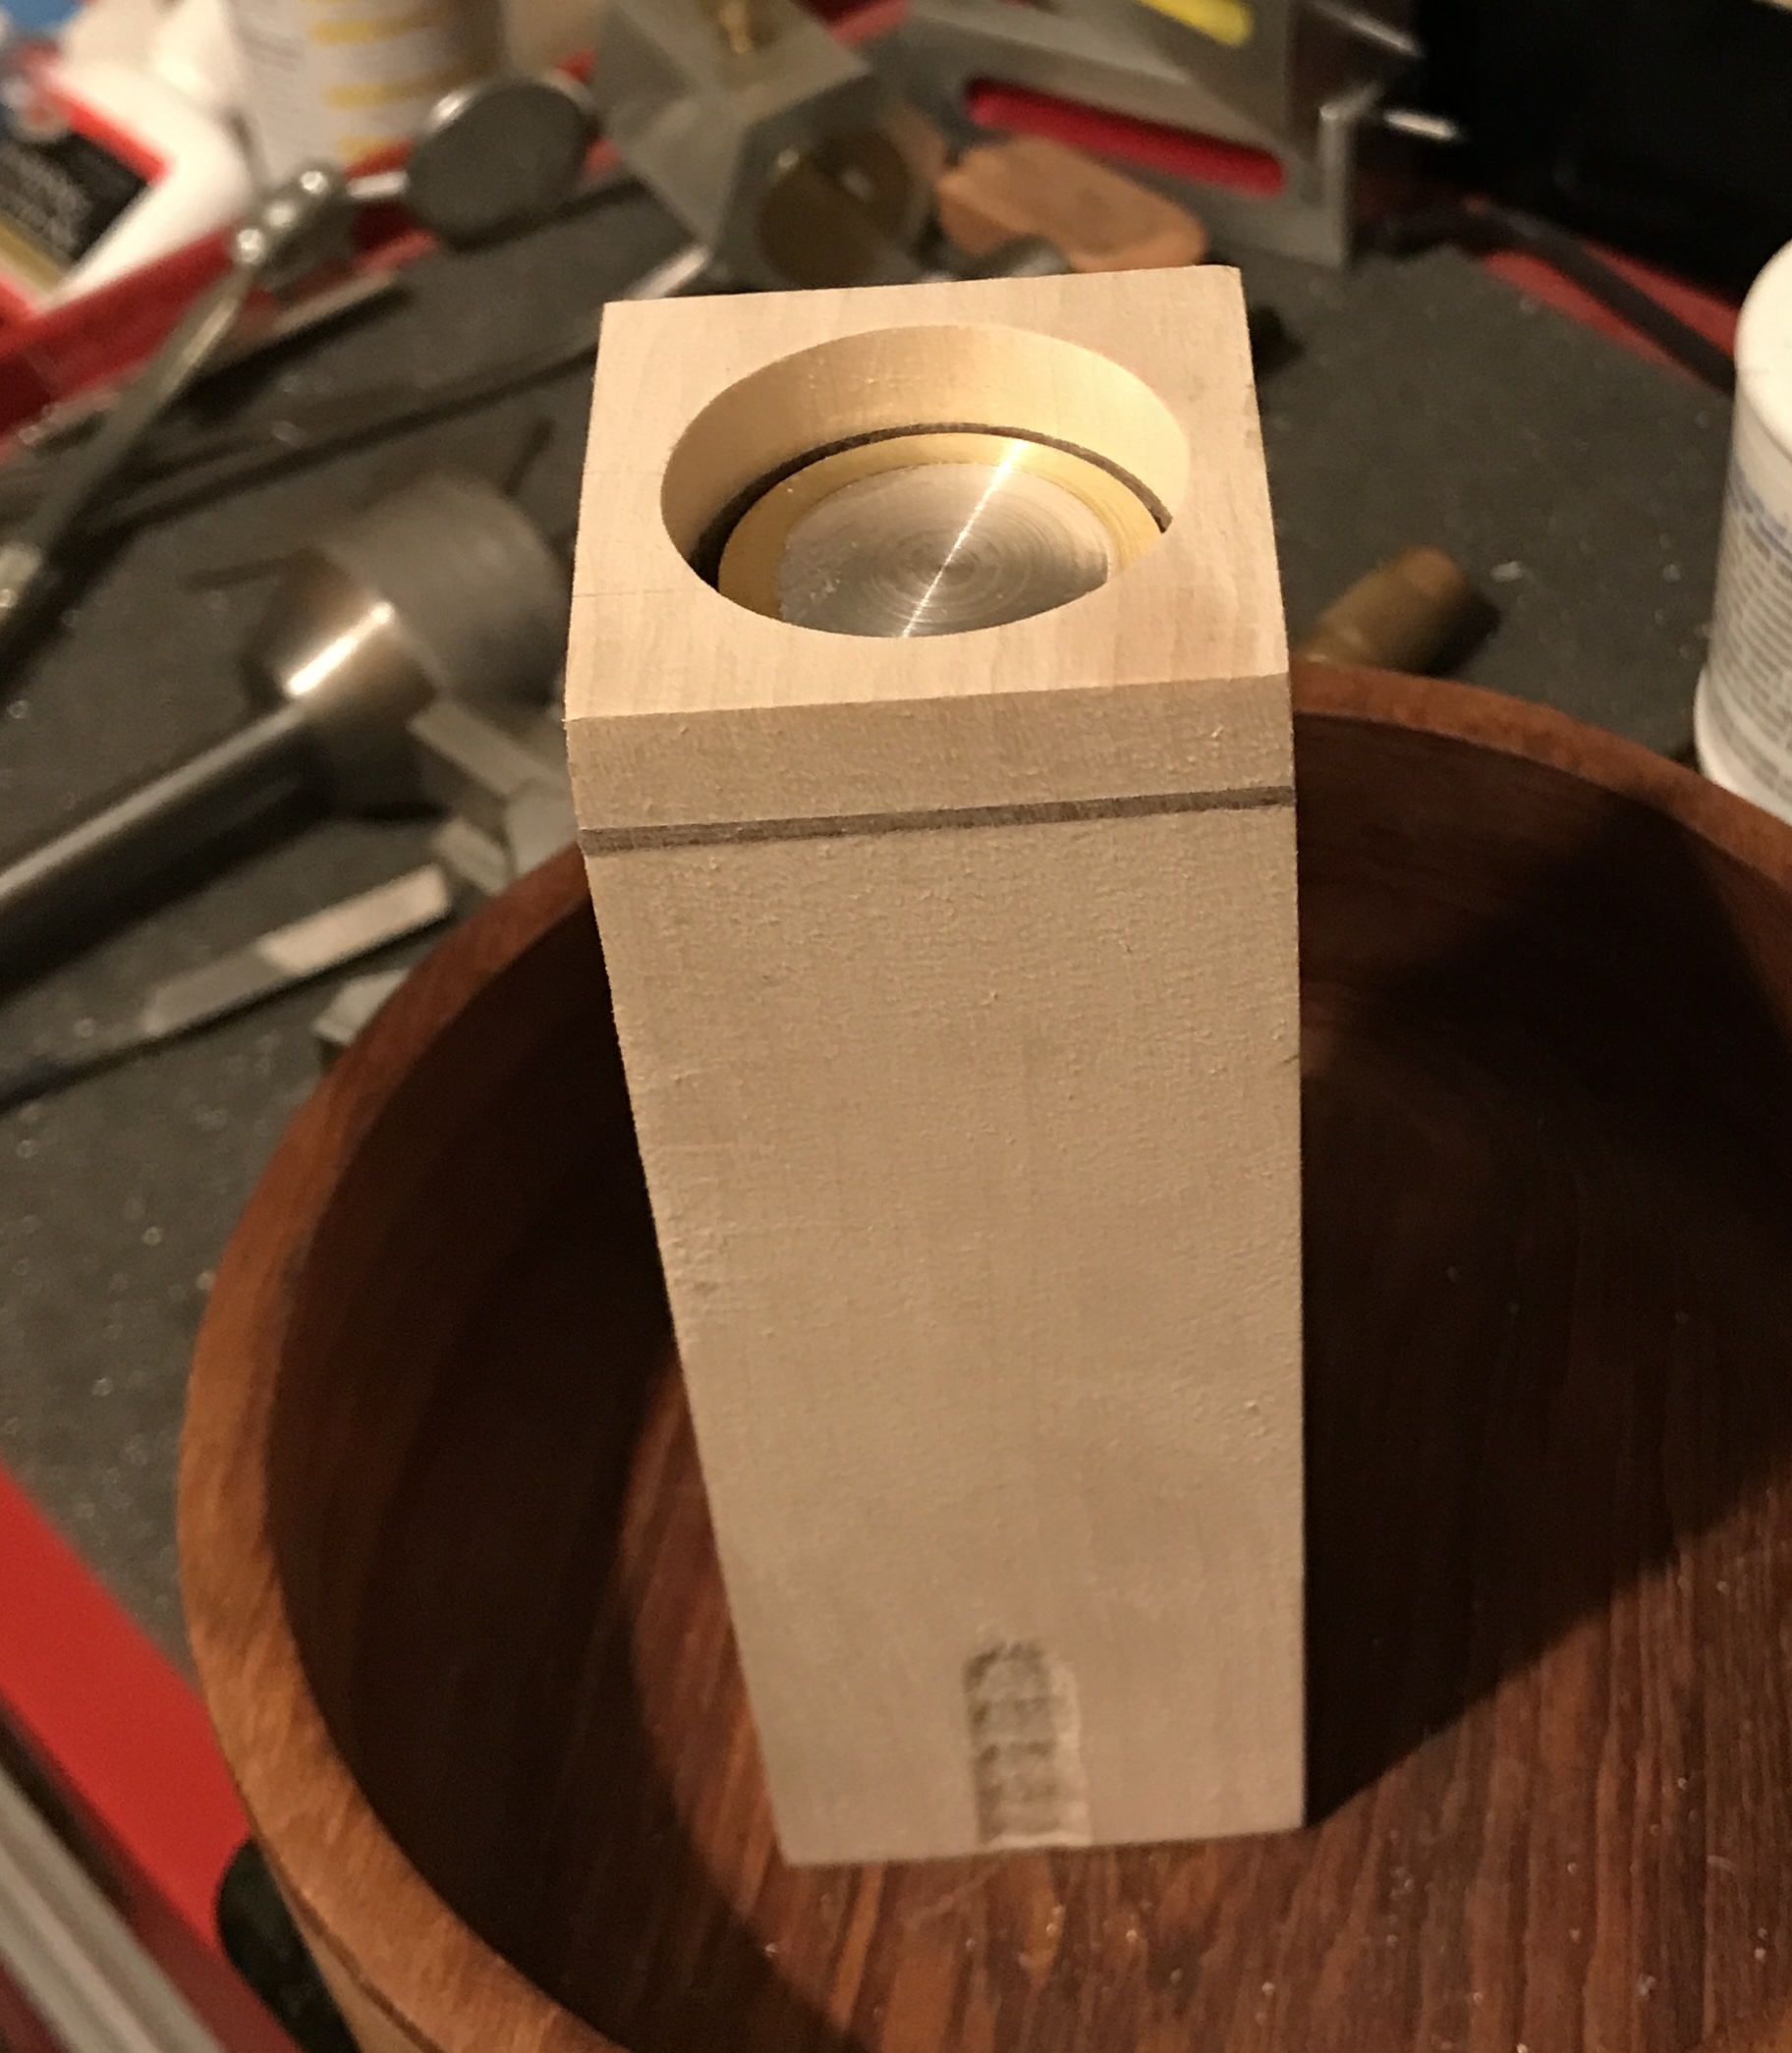
The clamps were removed after two hours. The holder was returned to the marks on the drill press table. The top was bored through with a Forstner bit. A lot of sanding with an 80 grit block flattened the faces. The photo below shows the holder at this stage with the fifteen playing pieces inside. Sweet!
I discovered that adding drops of water to the chuck jaw depressions raised the grain sufficiently that sanding hid all traces of the depressions. It took most of a day for the wood to dry before sanding, so multiple days to remove all depressions. After sanding the outsides with 80 grit, they were sanded smooth with 220 grit paper. All edges were slightly rounded including the edge around the opening. At this point both holders were dipped in Danish oil for ten minutes. The photo below shows the tools used to keep the holders under the oil.
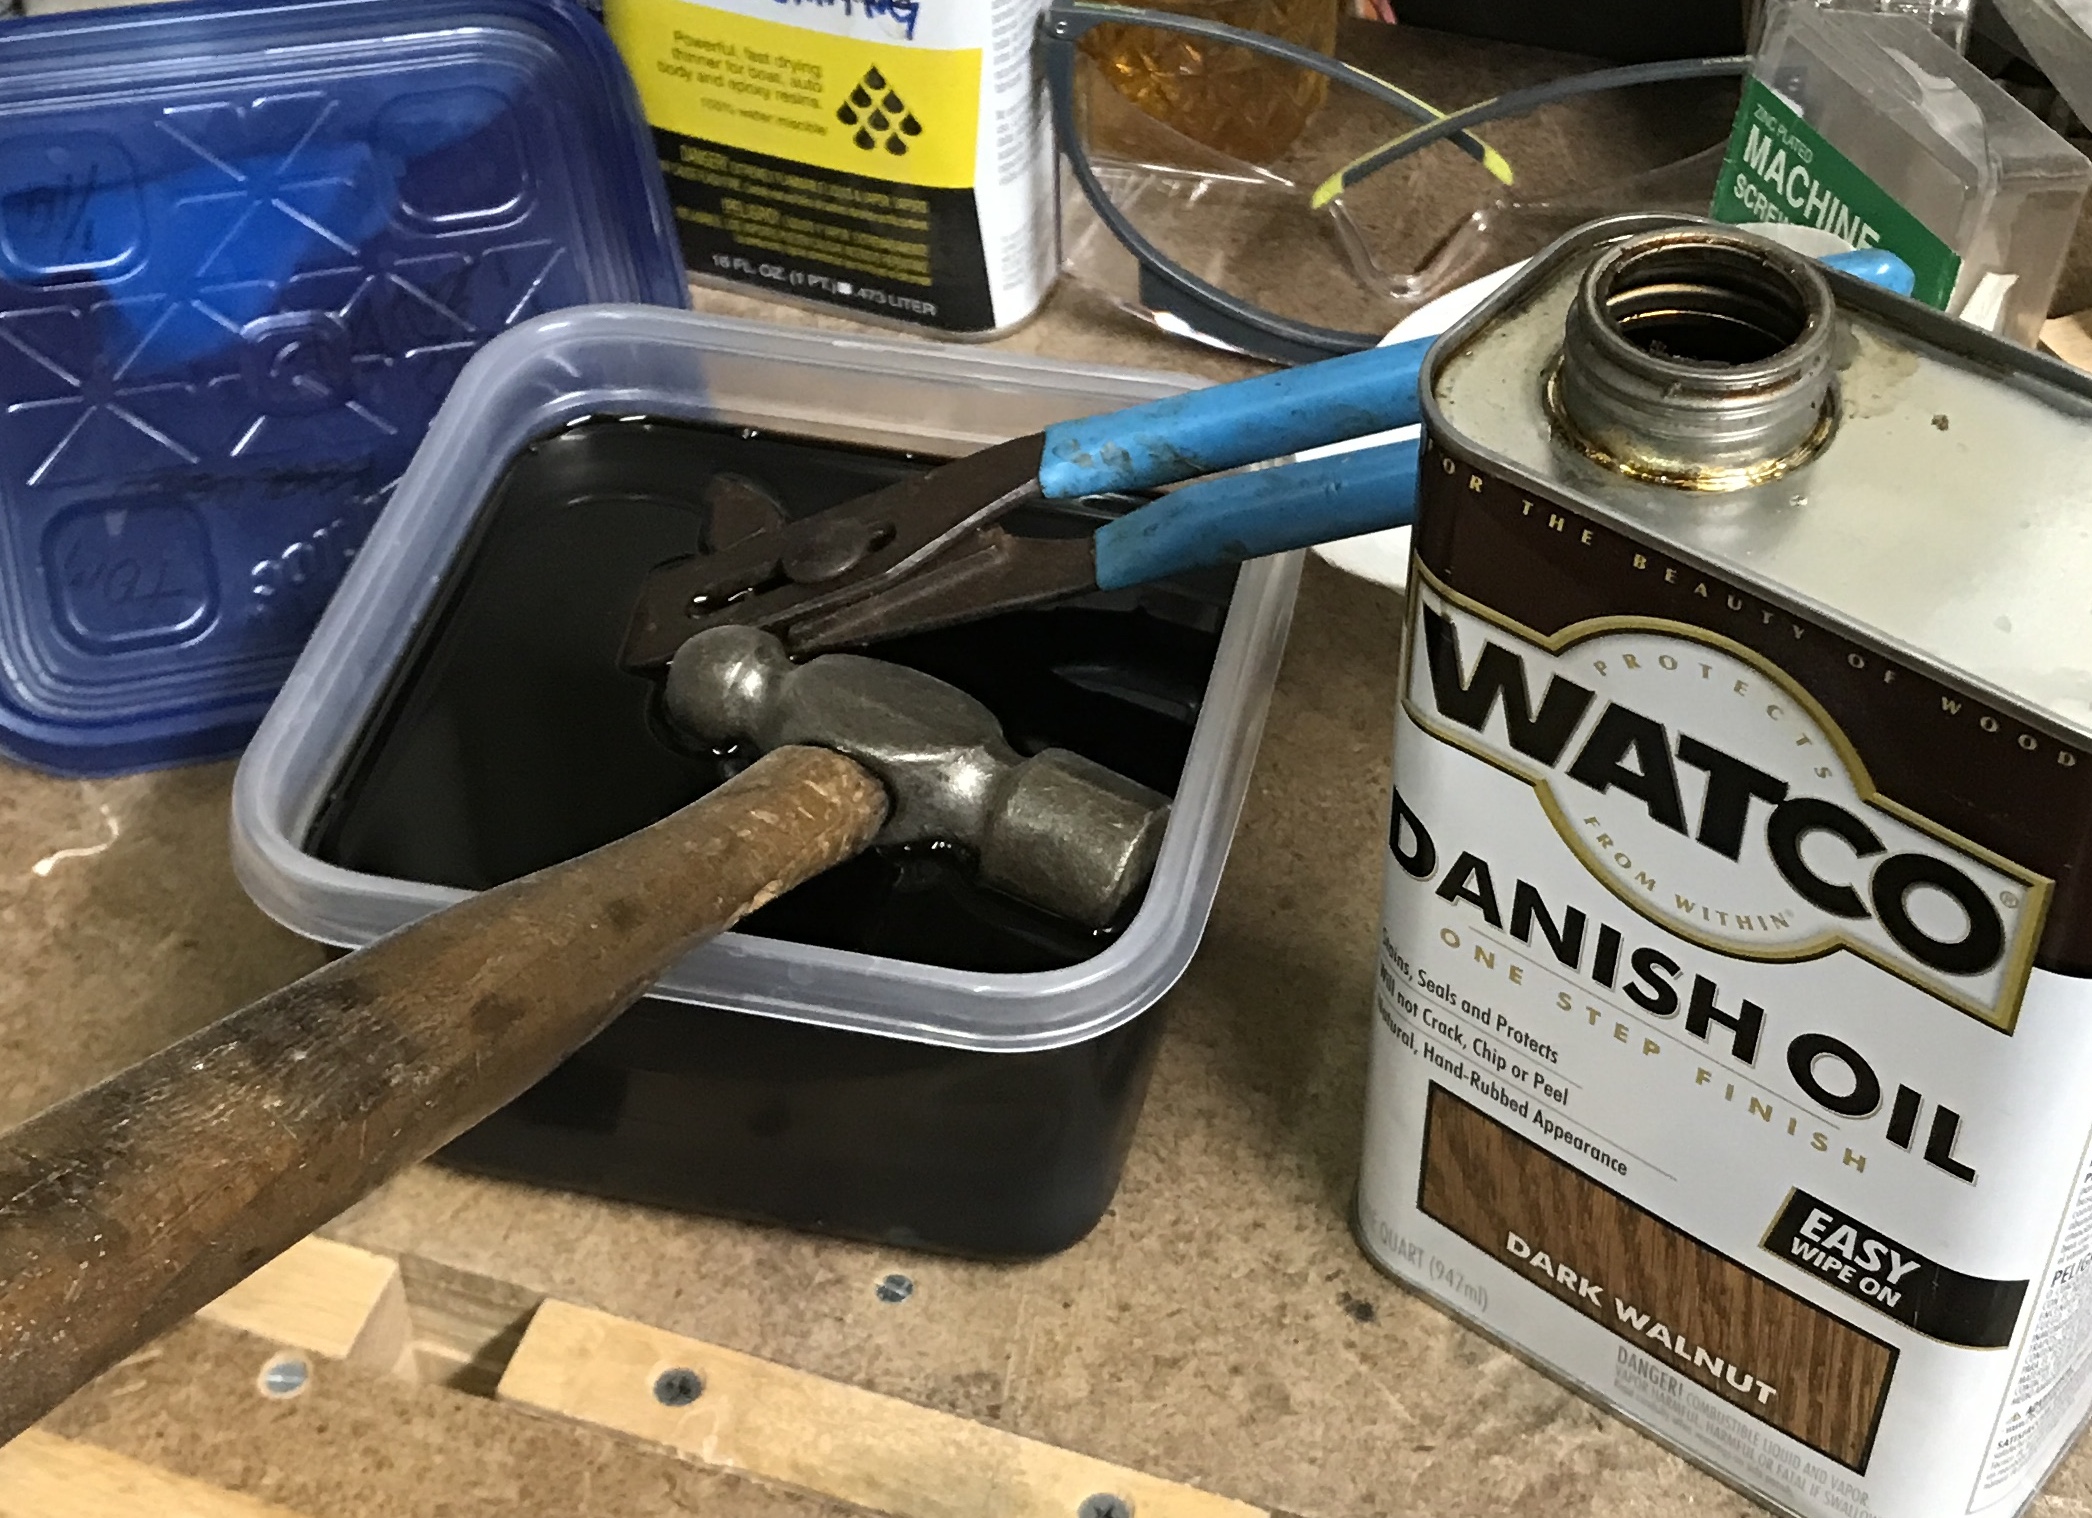
After ten minutes the holders were removed from the oil and drained. They must dry for three days before adding a topcoat. The photo shows them just out of the Danish oil after wiping down. Traces of the chuck jaw impressions can be discerned.

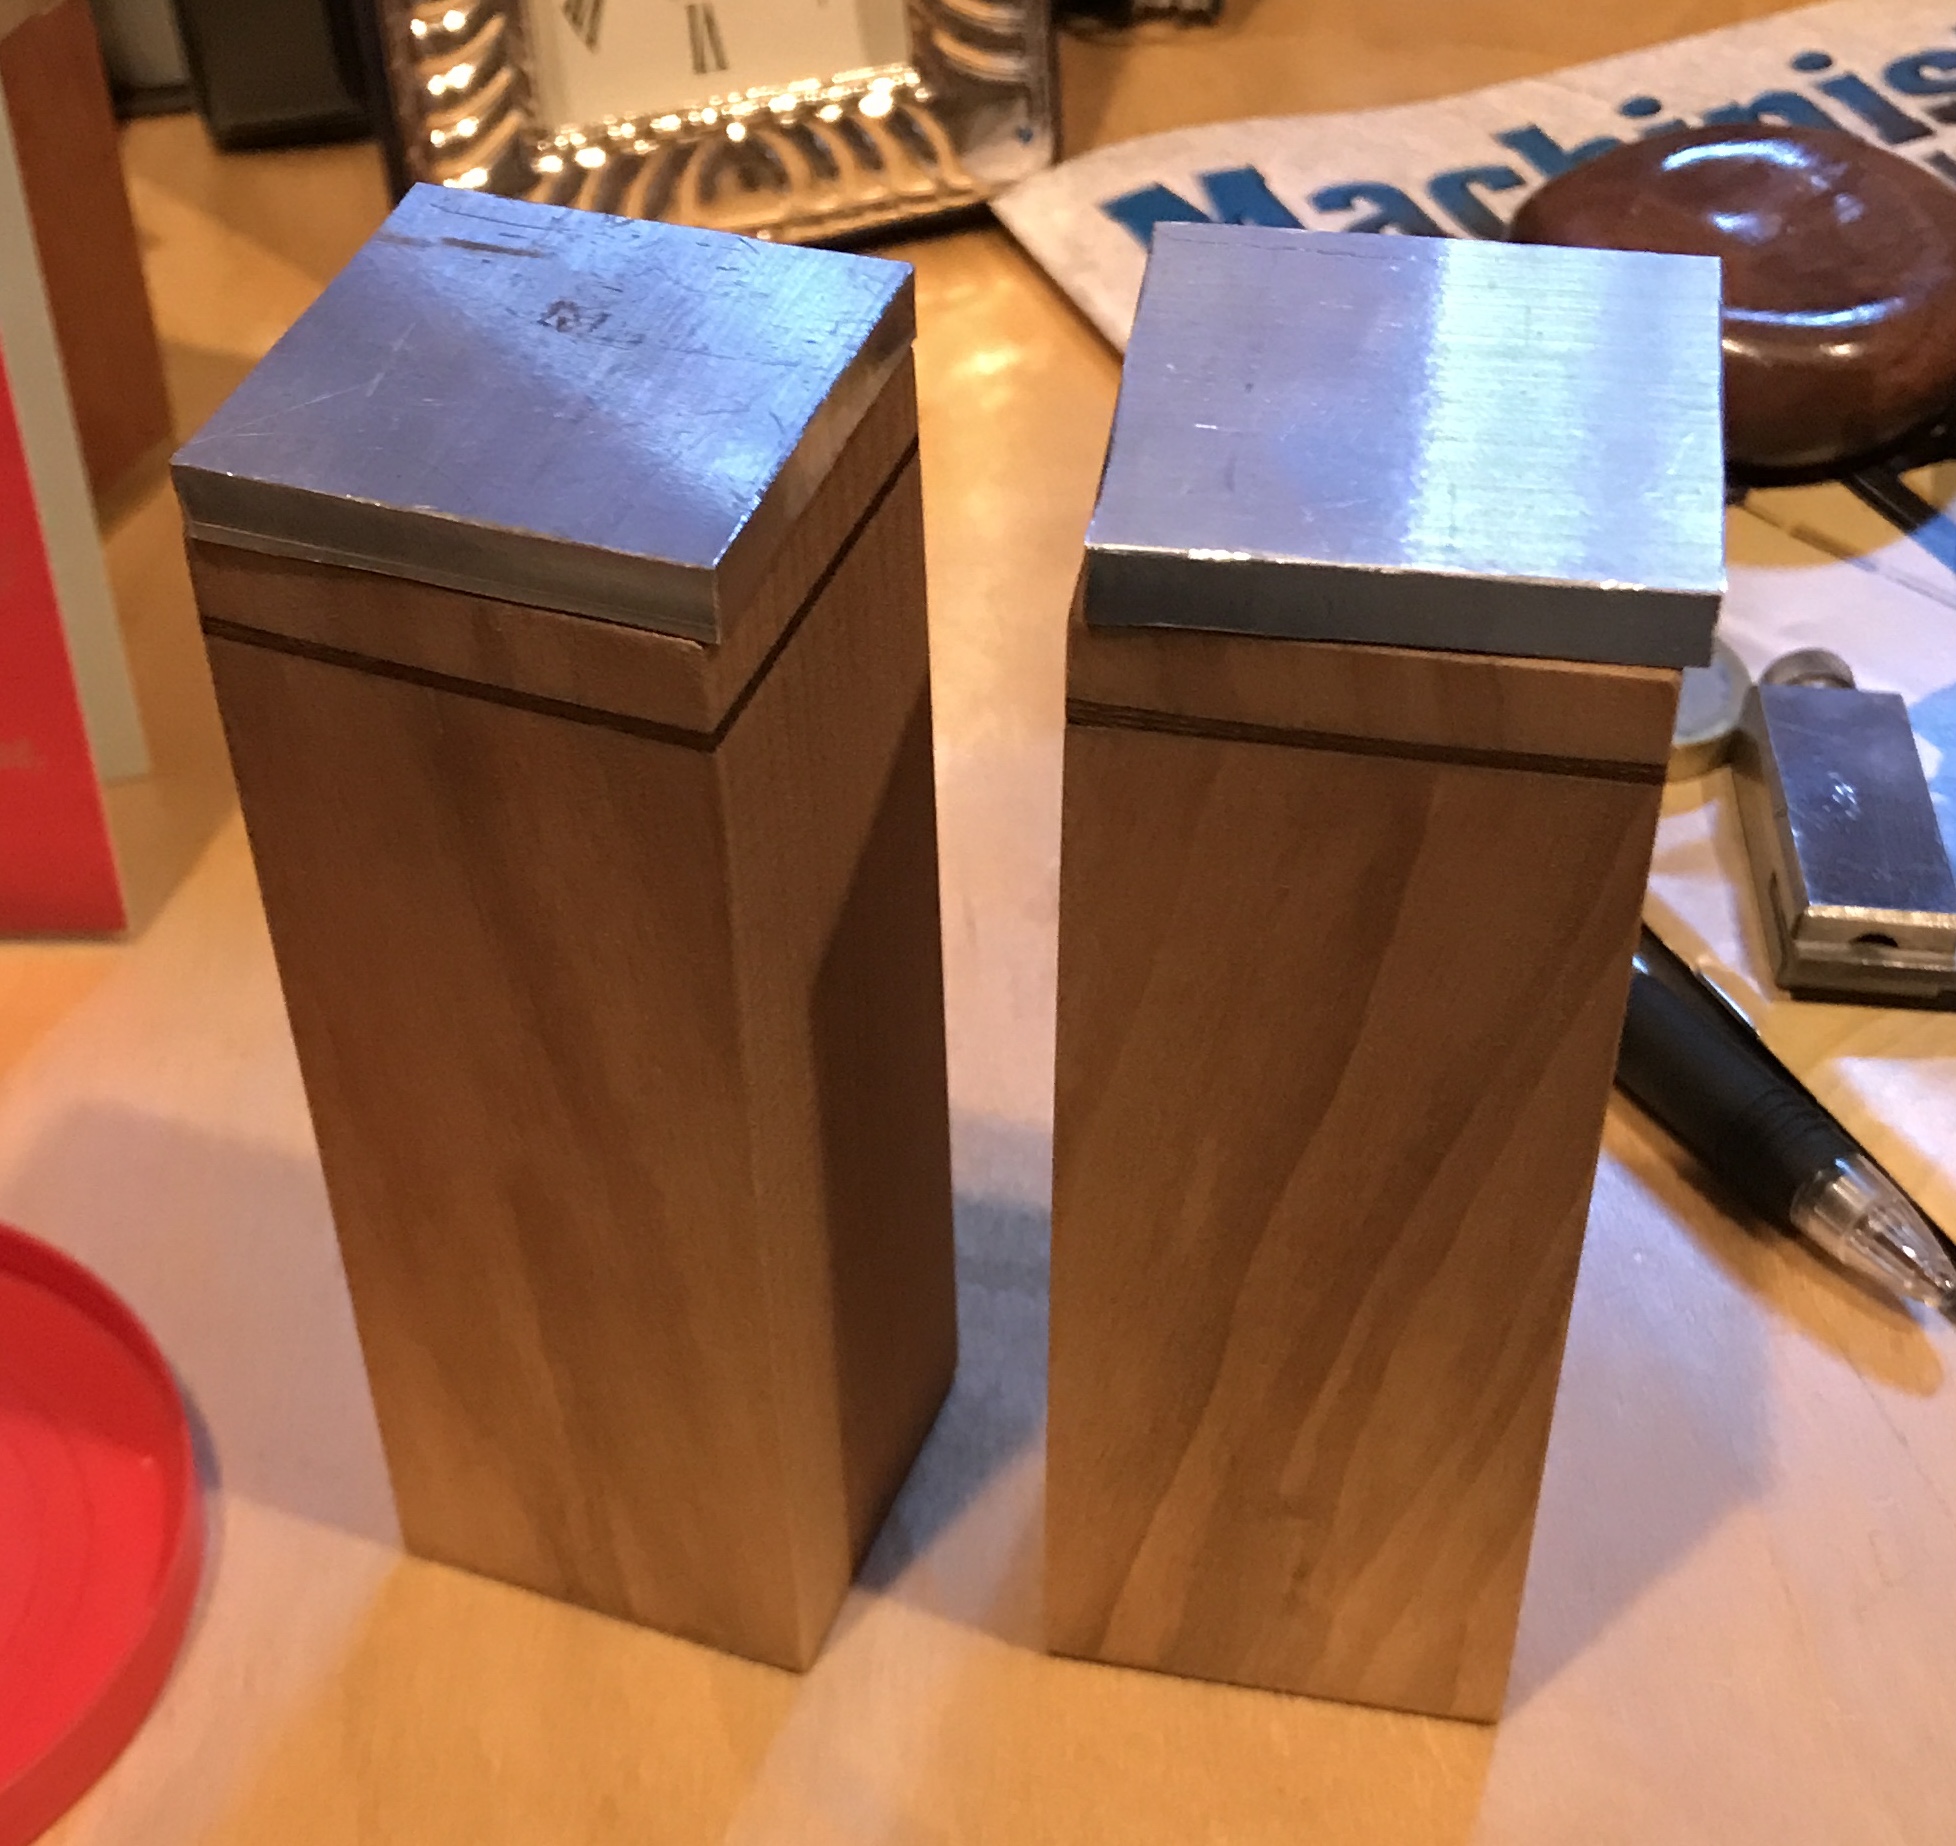
The tops were made this morning. The dimensions are not all the same. One holder is 1 1/8" X 1 3/16". The second is 1 3/16" X 1 23/32". The tops were cut from 1/4" thick aluminum plate with a hacksaw to rough size and then sized on the mill. The first photo below shows the tops on their matching holders. Holes were marked out and drilled with a 0.166" through drill followed by countersink. The holes were transferred to the wooden holders. These were drilled. One was close enough to utilize, but the other had to be plugged.
While at the buffing wheel, an attempt was made to buff out the aluminum center on the first test piece. The brass polished up nicely with white rouge, but the aluminum remained cloudy.
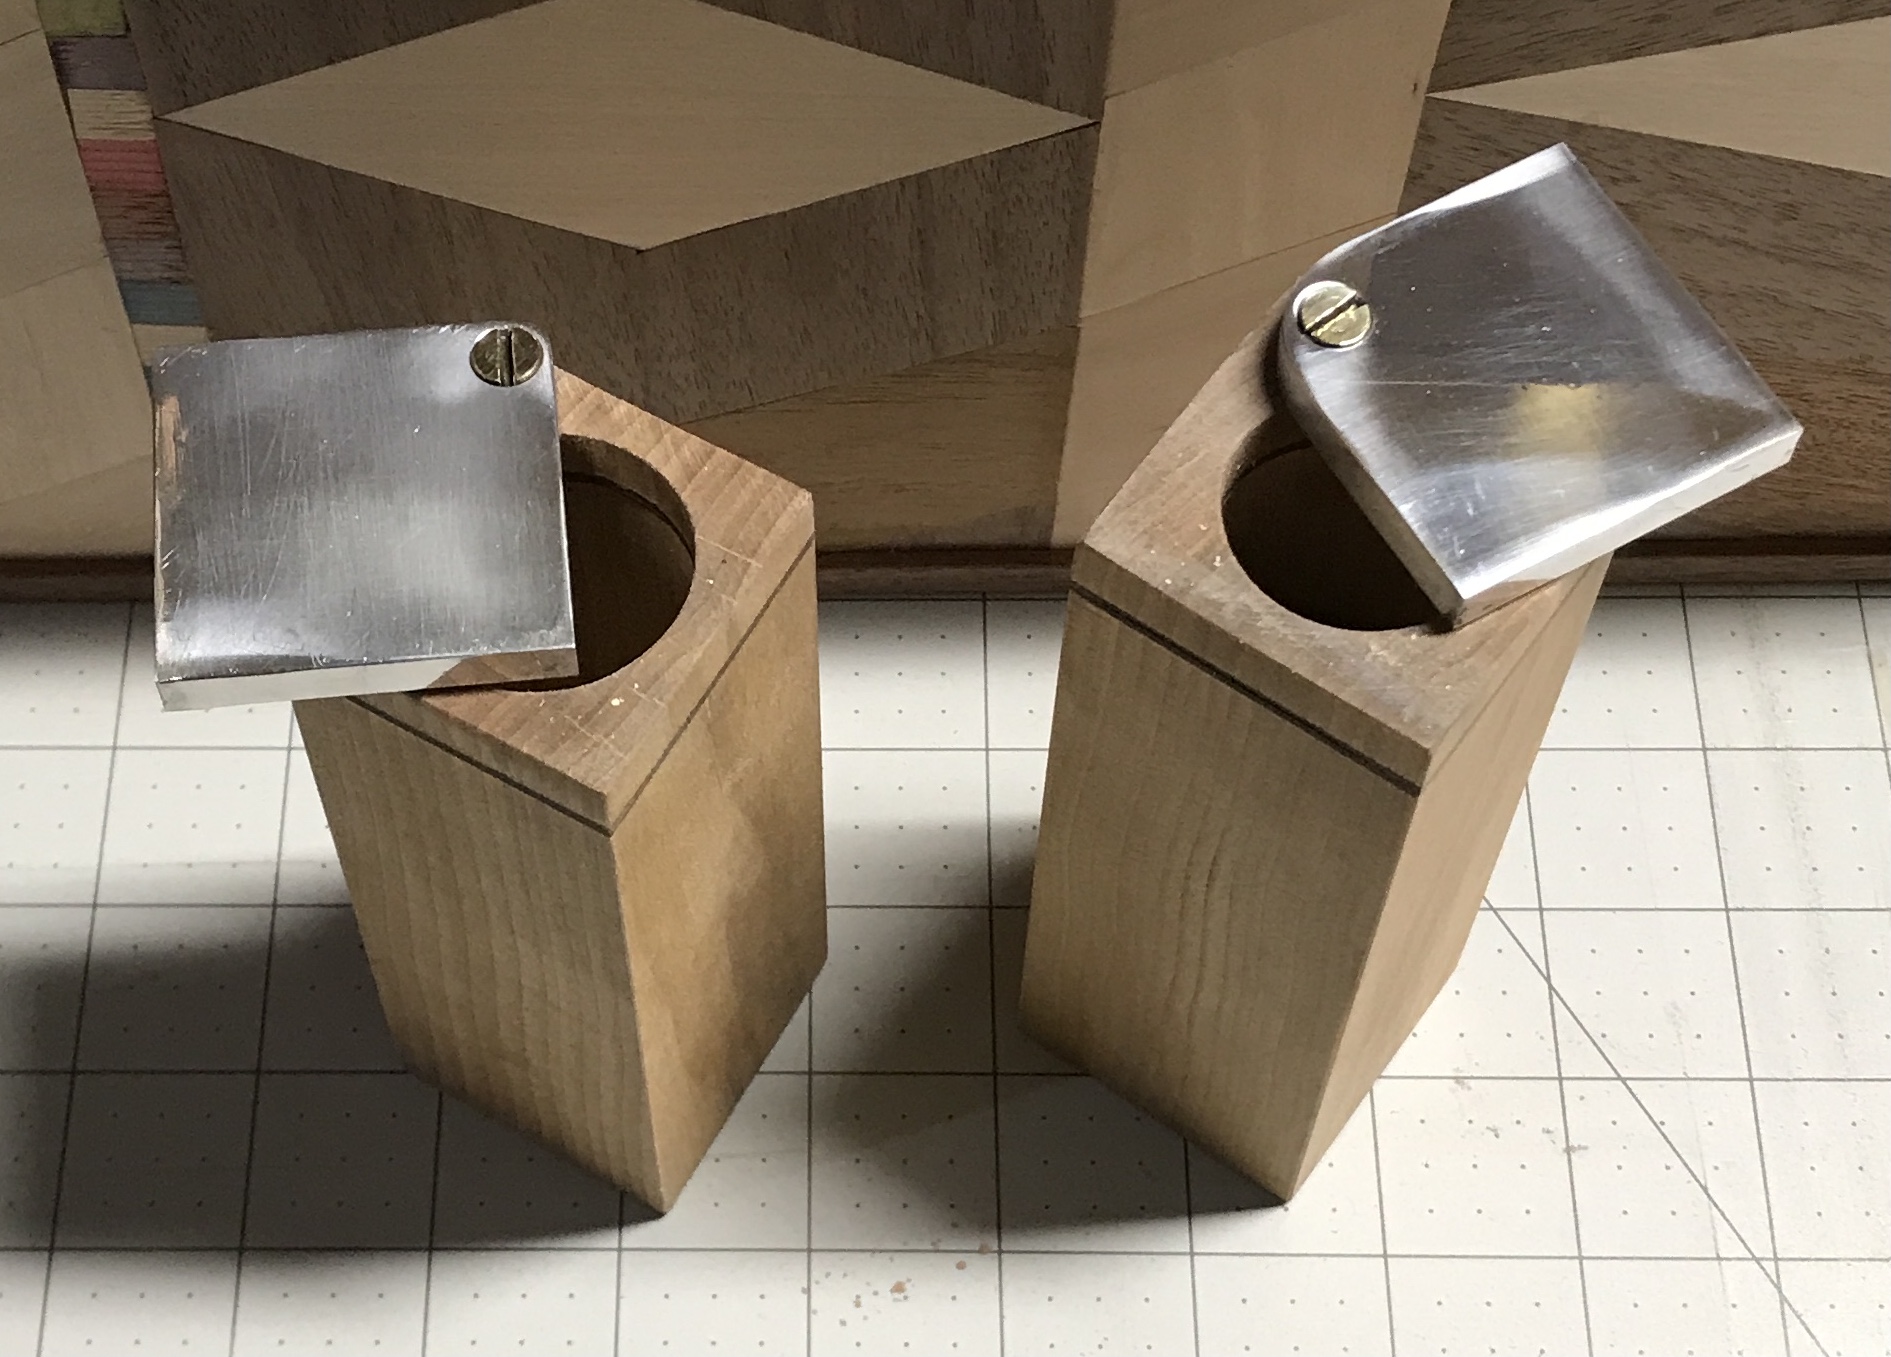
The holder needing the plug was plugged with a 1/8" dowel and glued. After drying overnight the excess plug was removed. The hole was remarked and drilled by hand. The corners for both tops were rounded so they did not protrude over the opening when the top was rotated to the open position. The aluminum tops were sanded to 600 grit and polished with white rouge on a buffing wheel. The screws were polished on the brass wheel. The tops were washed, dried and wiped with acetone. Then they were painted with Protecta-Clear, two coats. The photo shows the completed tops attached.
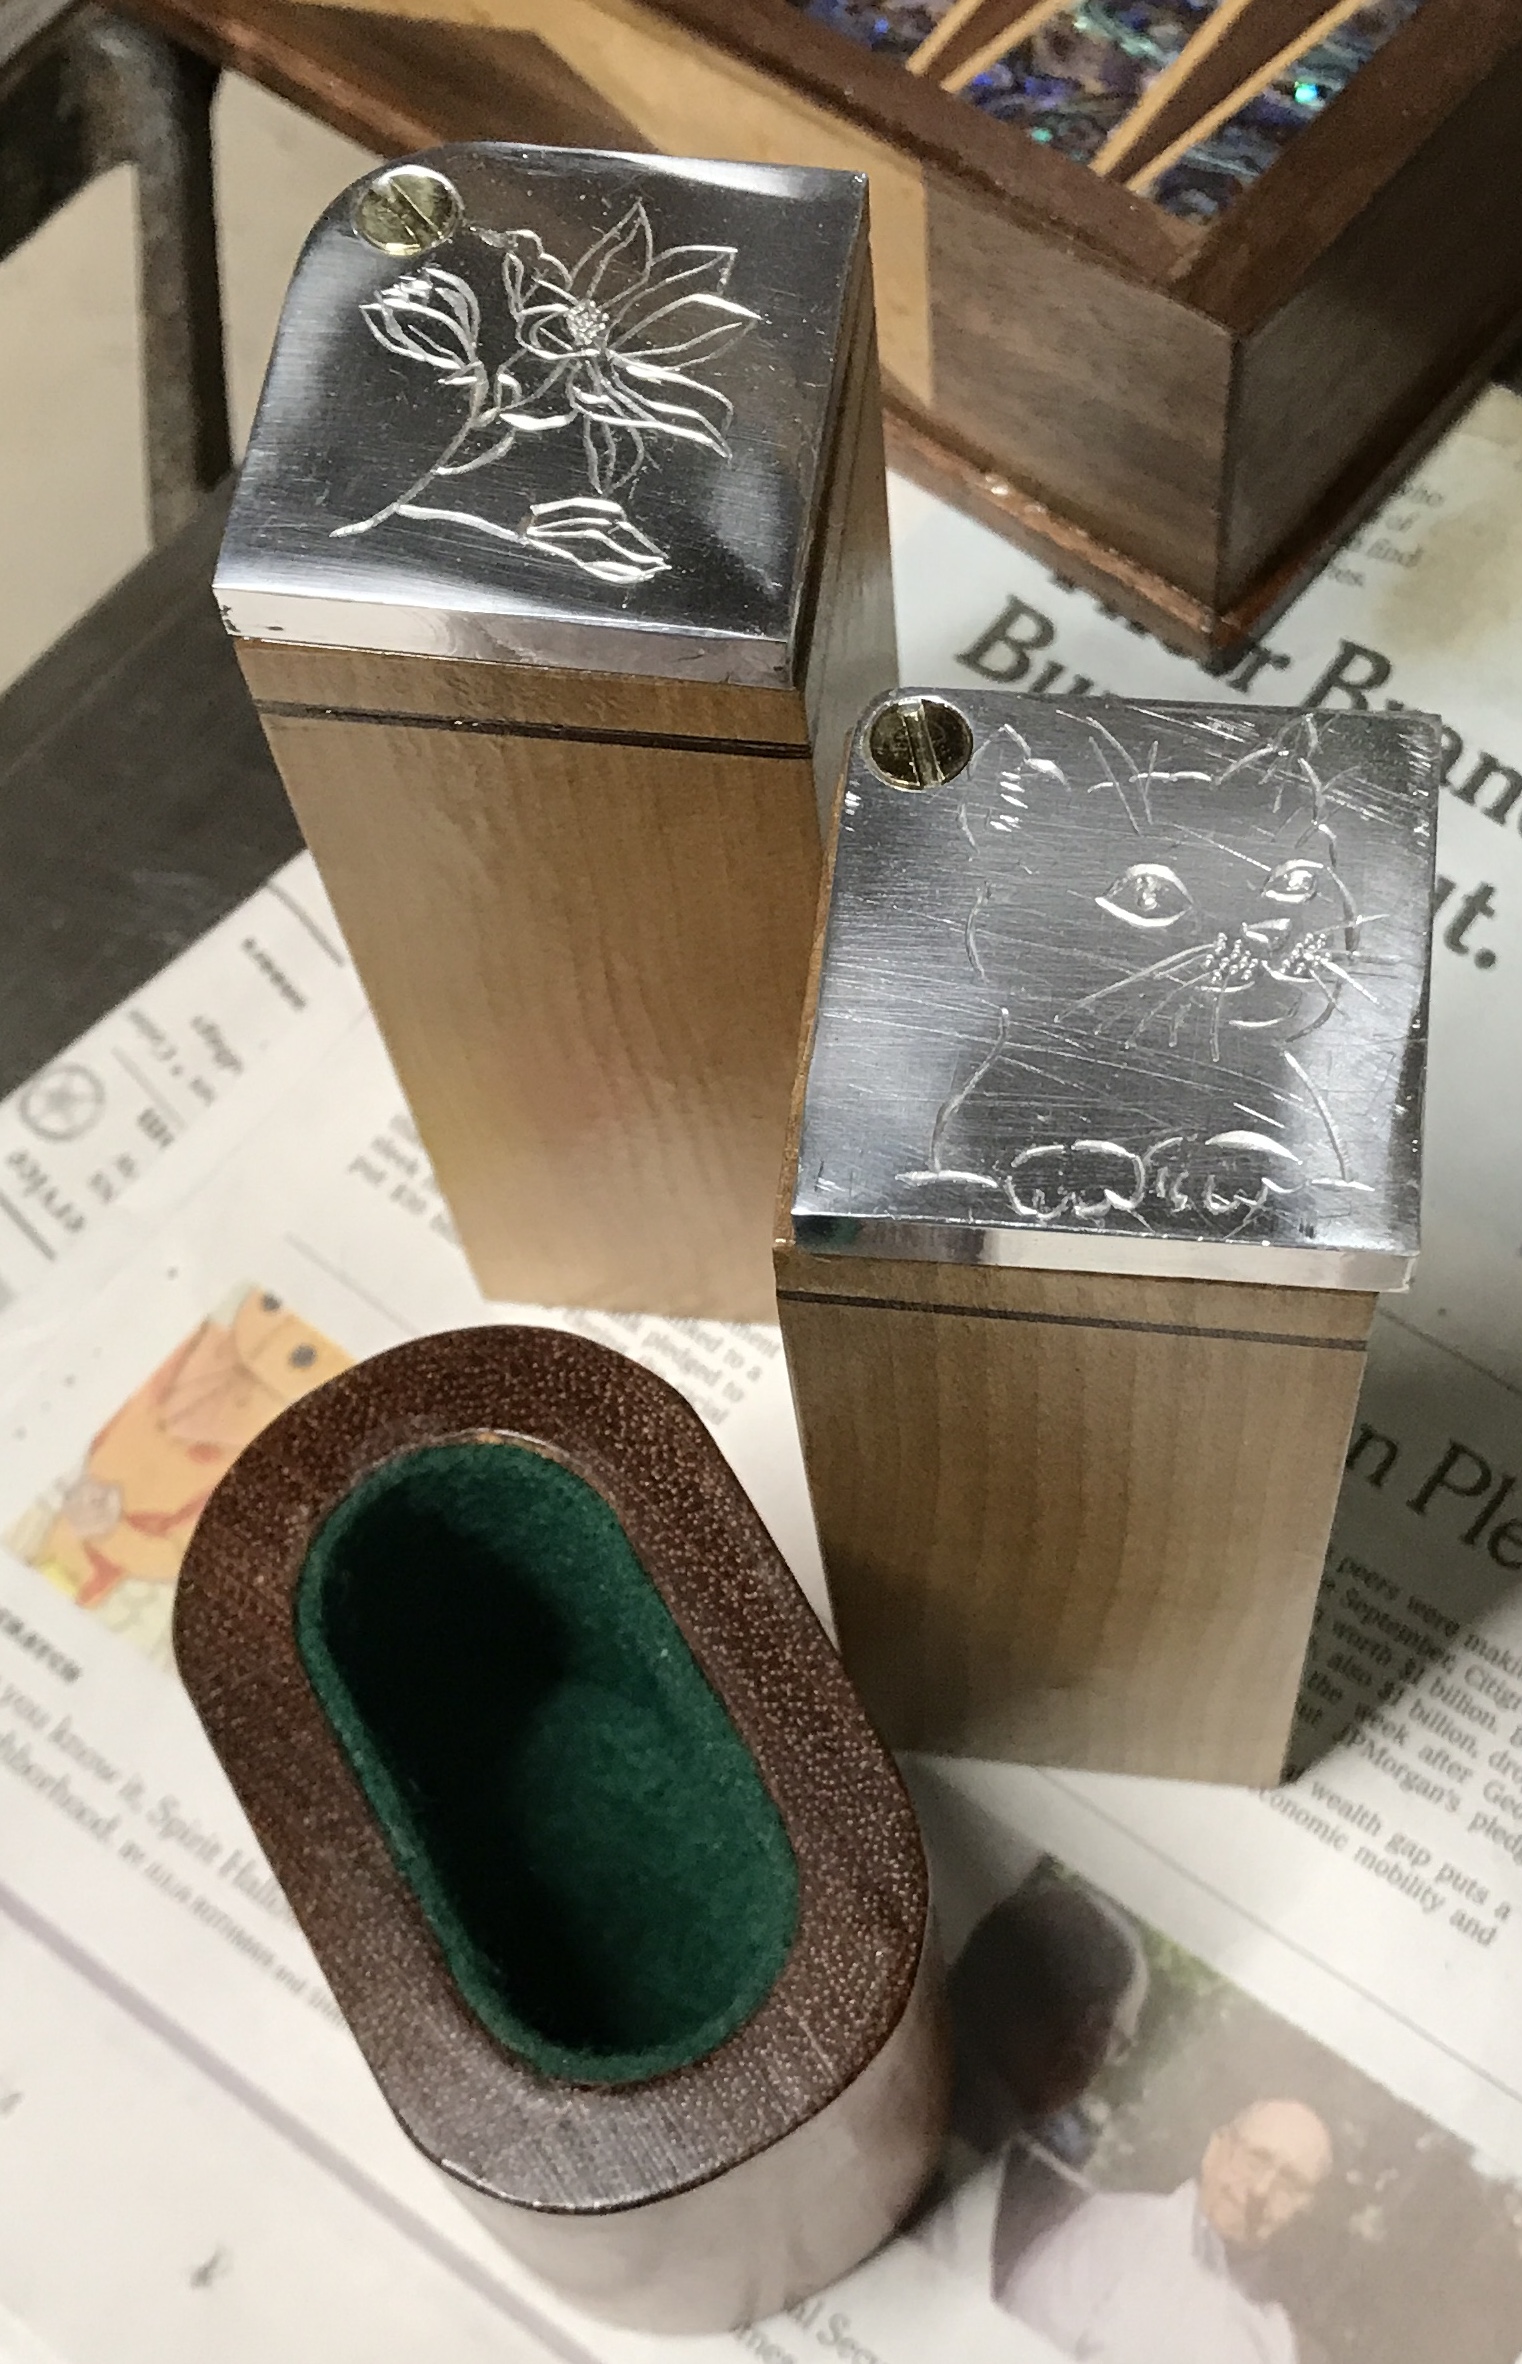
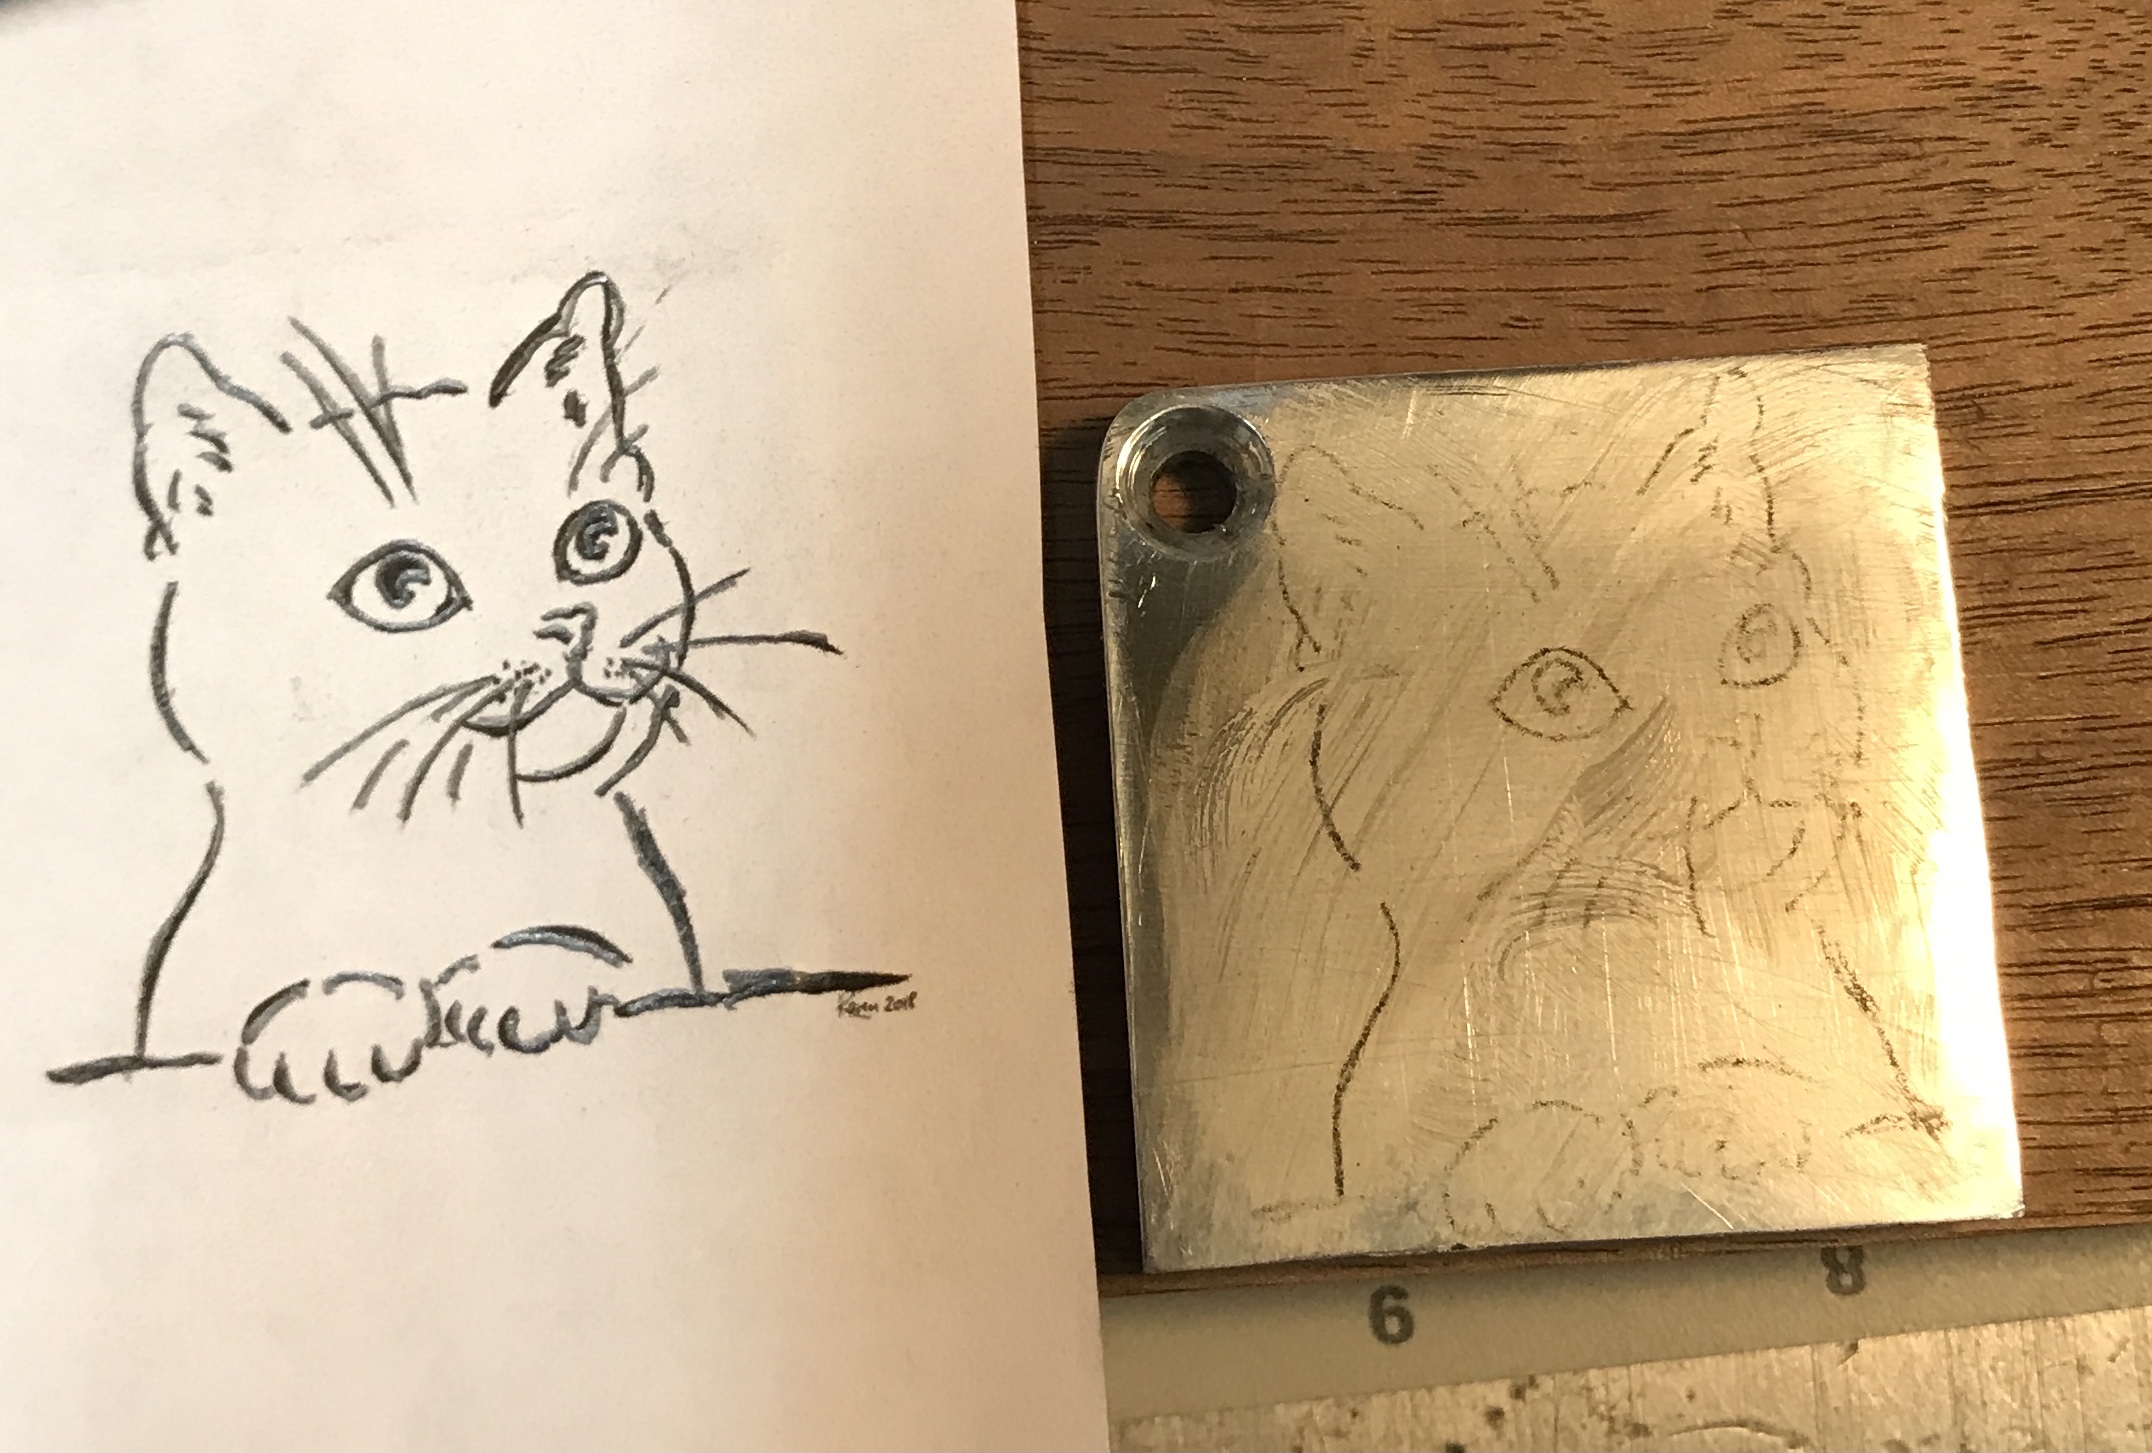
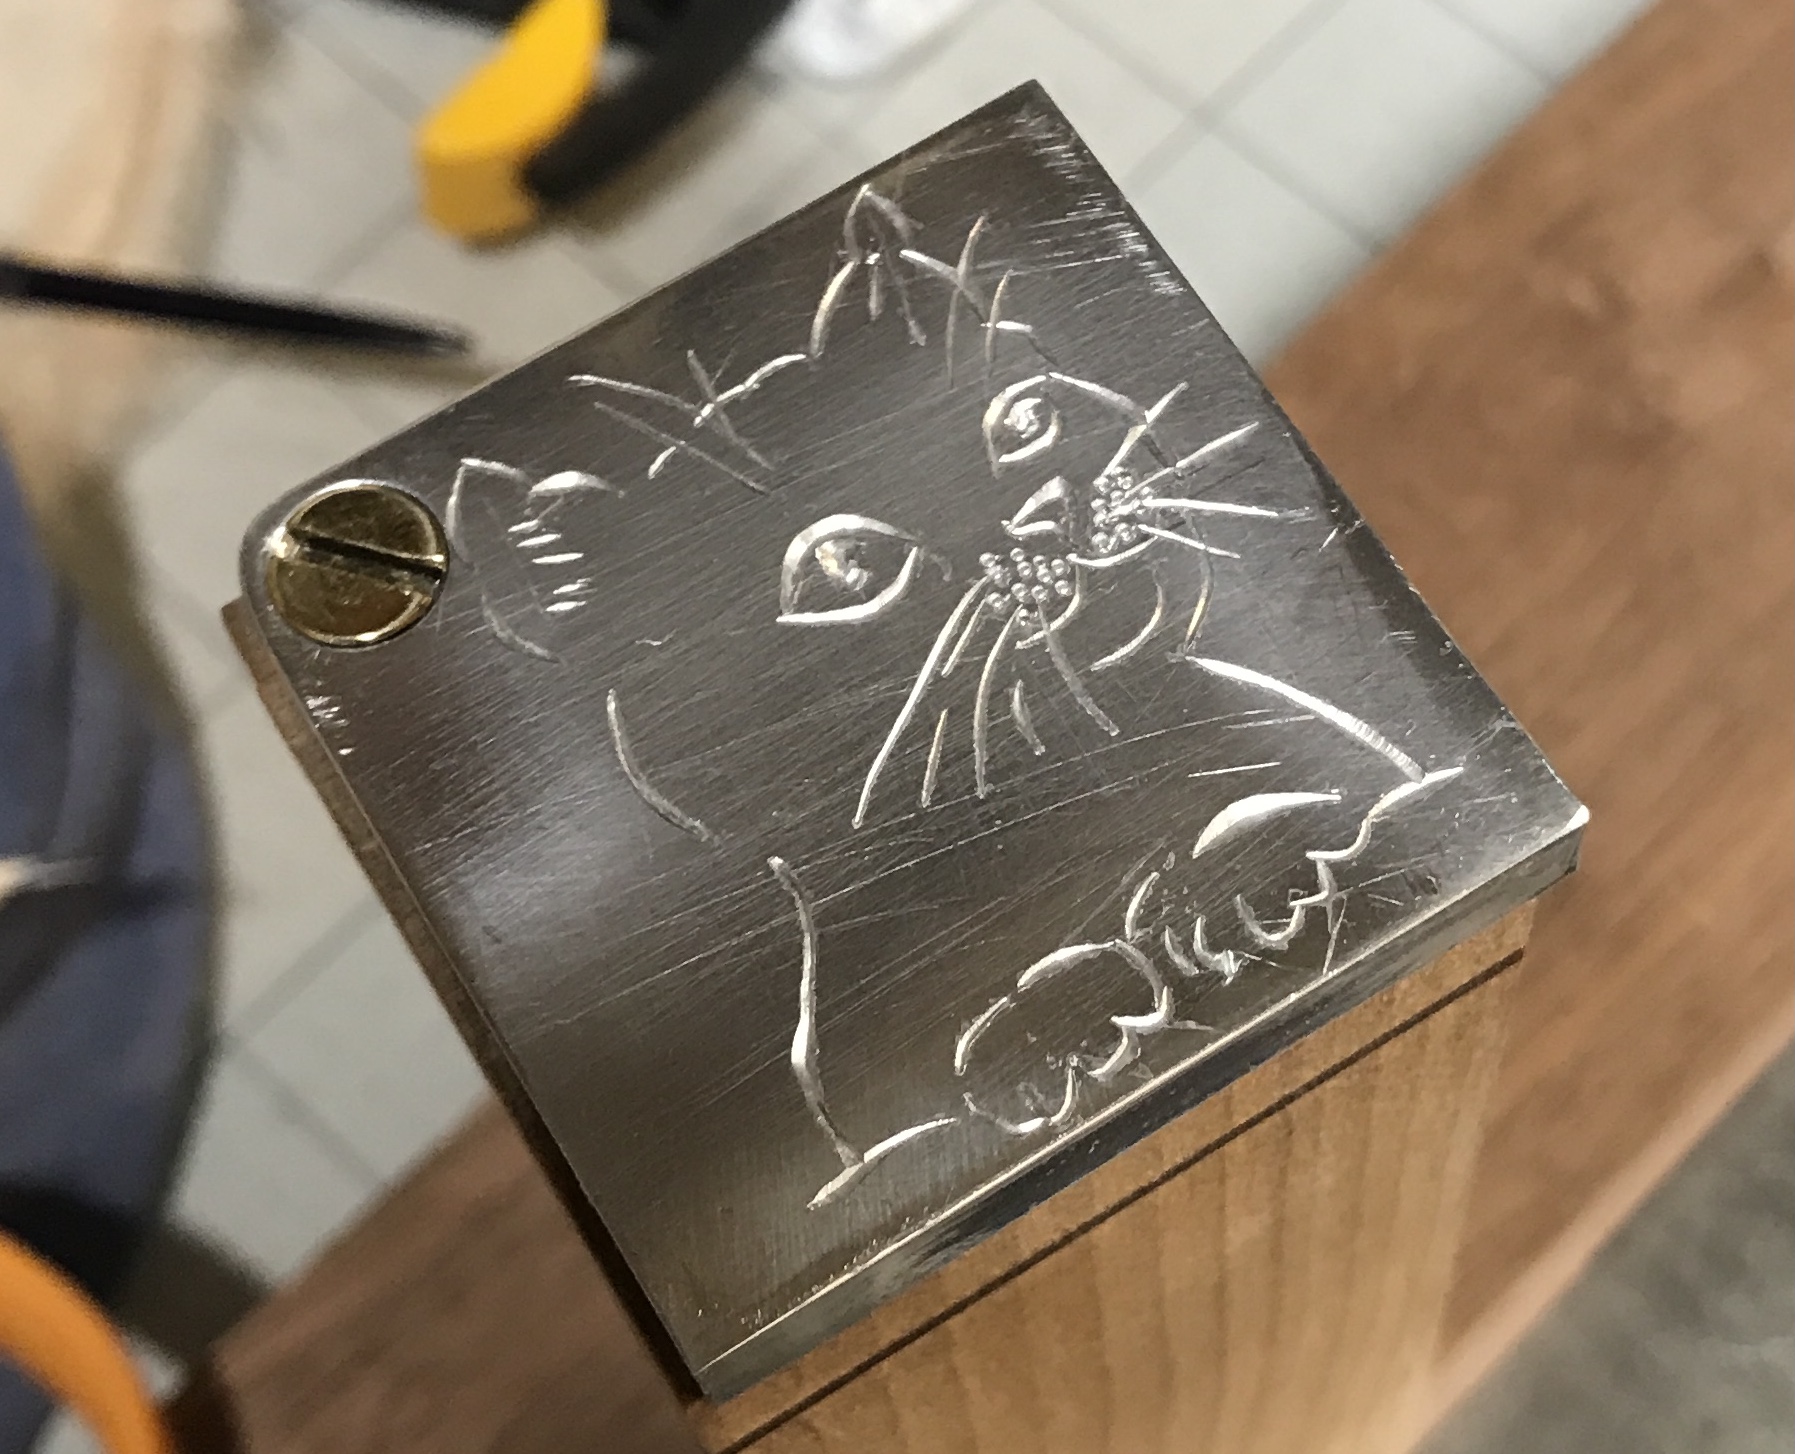
The first top was engraved this morning. A few sketches of cats were located on the internet and one was selected for the lid. The cat sketch was sized to fit within a 1.5" square and then printed. The print was transfered to the lid with carbon paper on China white. The sketch was engraved with the 120° graver after sharpening. After all of the cats and plants on the pieces the graver was quite dull. The pointing tool was used for the freckles. The first picture below shows the printed sketch and the transfer. The second photo shows the finished product. Too bad the pieces were not done the same way.
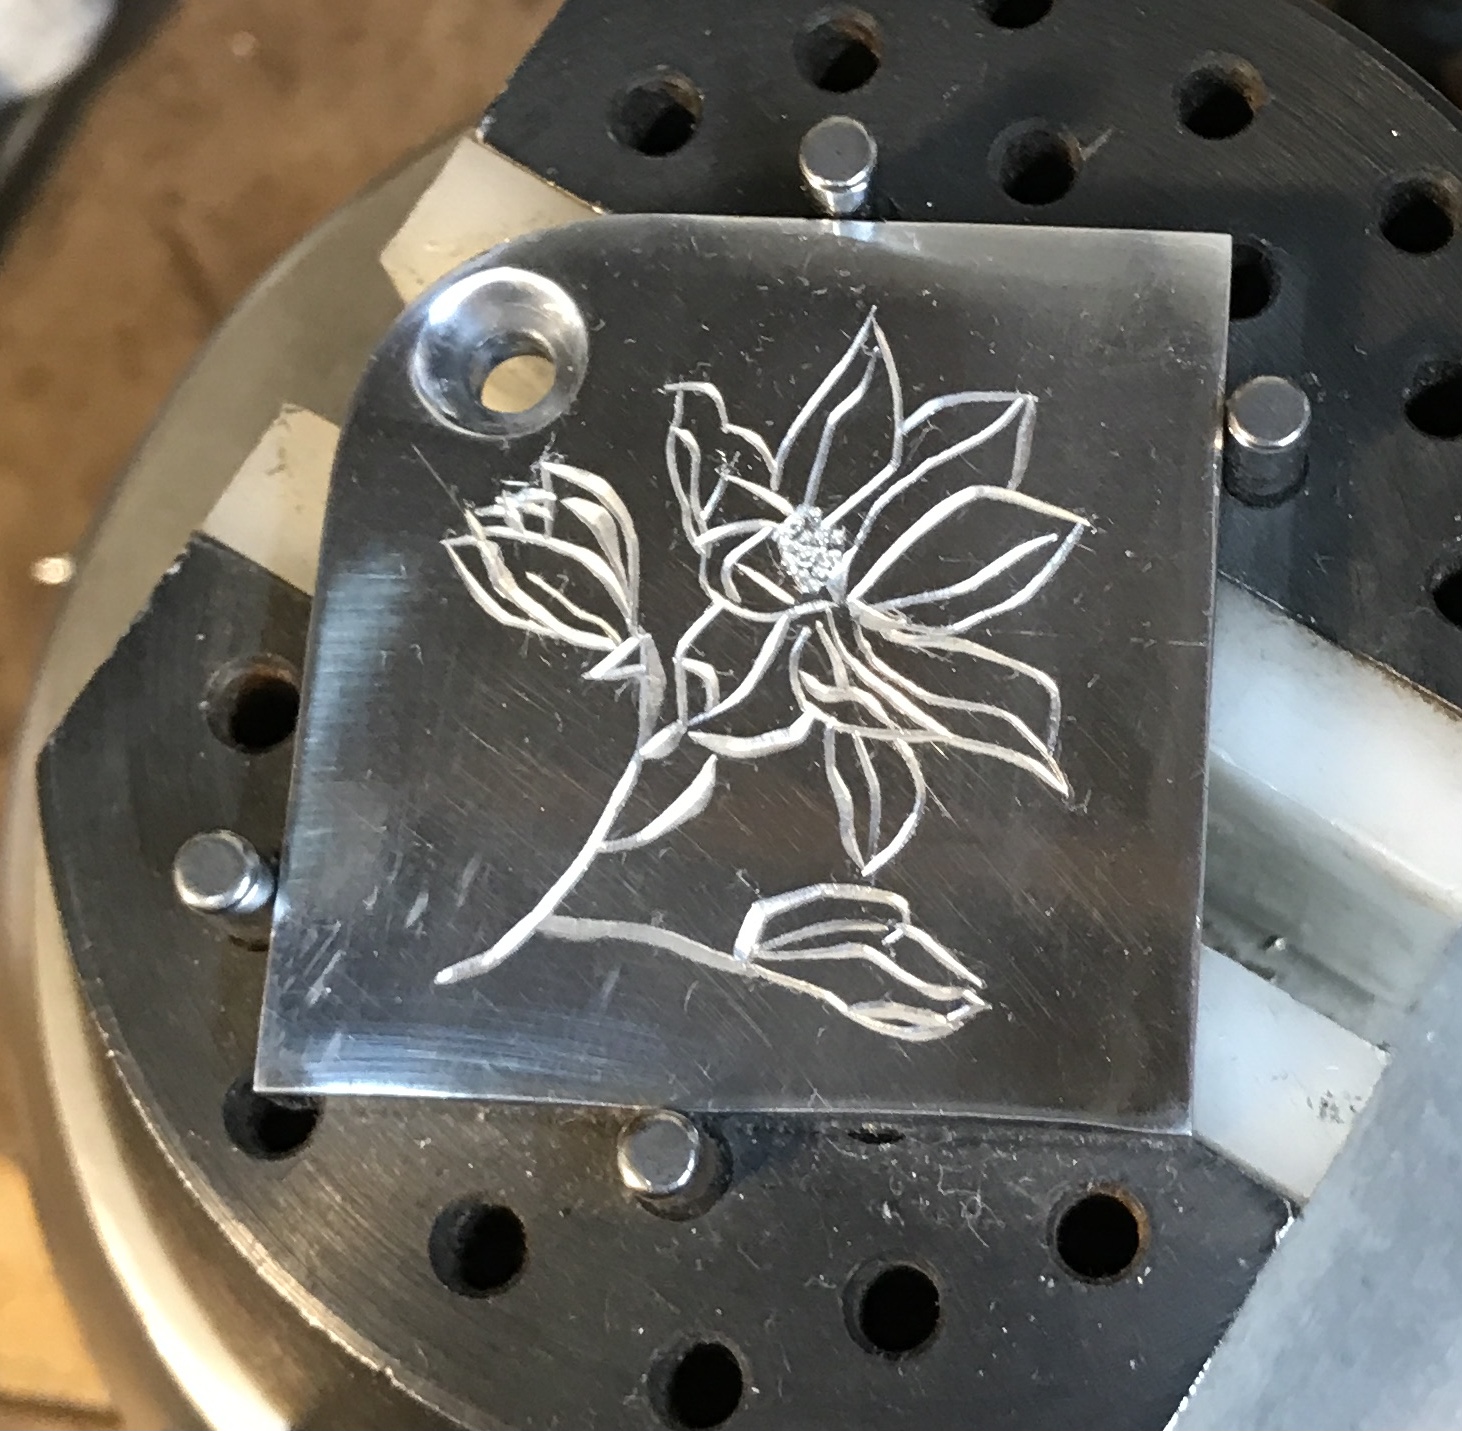
A flower was found to engrave on the other holder top. Again the carbon paper was used to transfer the design to the aluminum. The engraving was more challenging than the cat, but went well. The result is shown below.
In addition to the piece holders a dice cup will be made. A block of wood was selected and cut approximately to size. A few dice cups online were approximately 1 1/2" X 2 1/2" X 3"
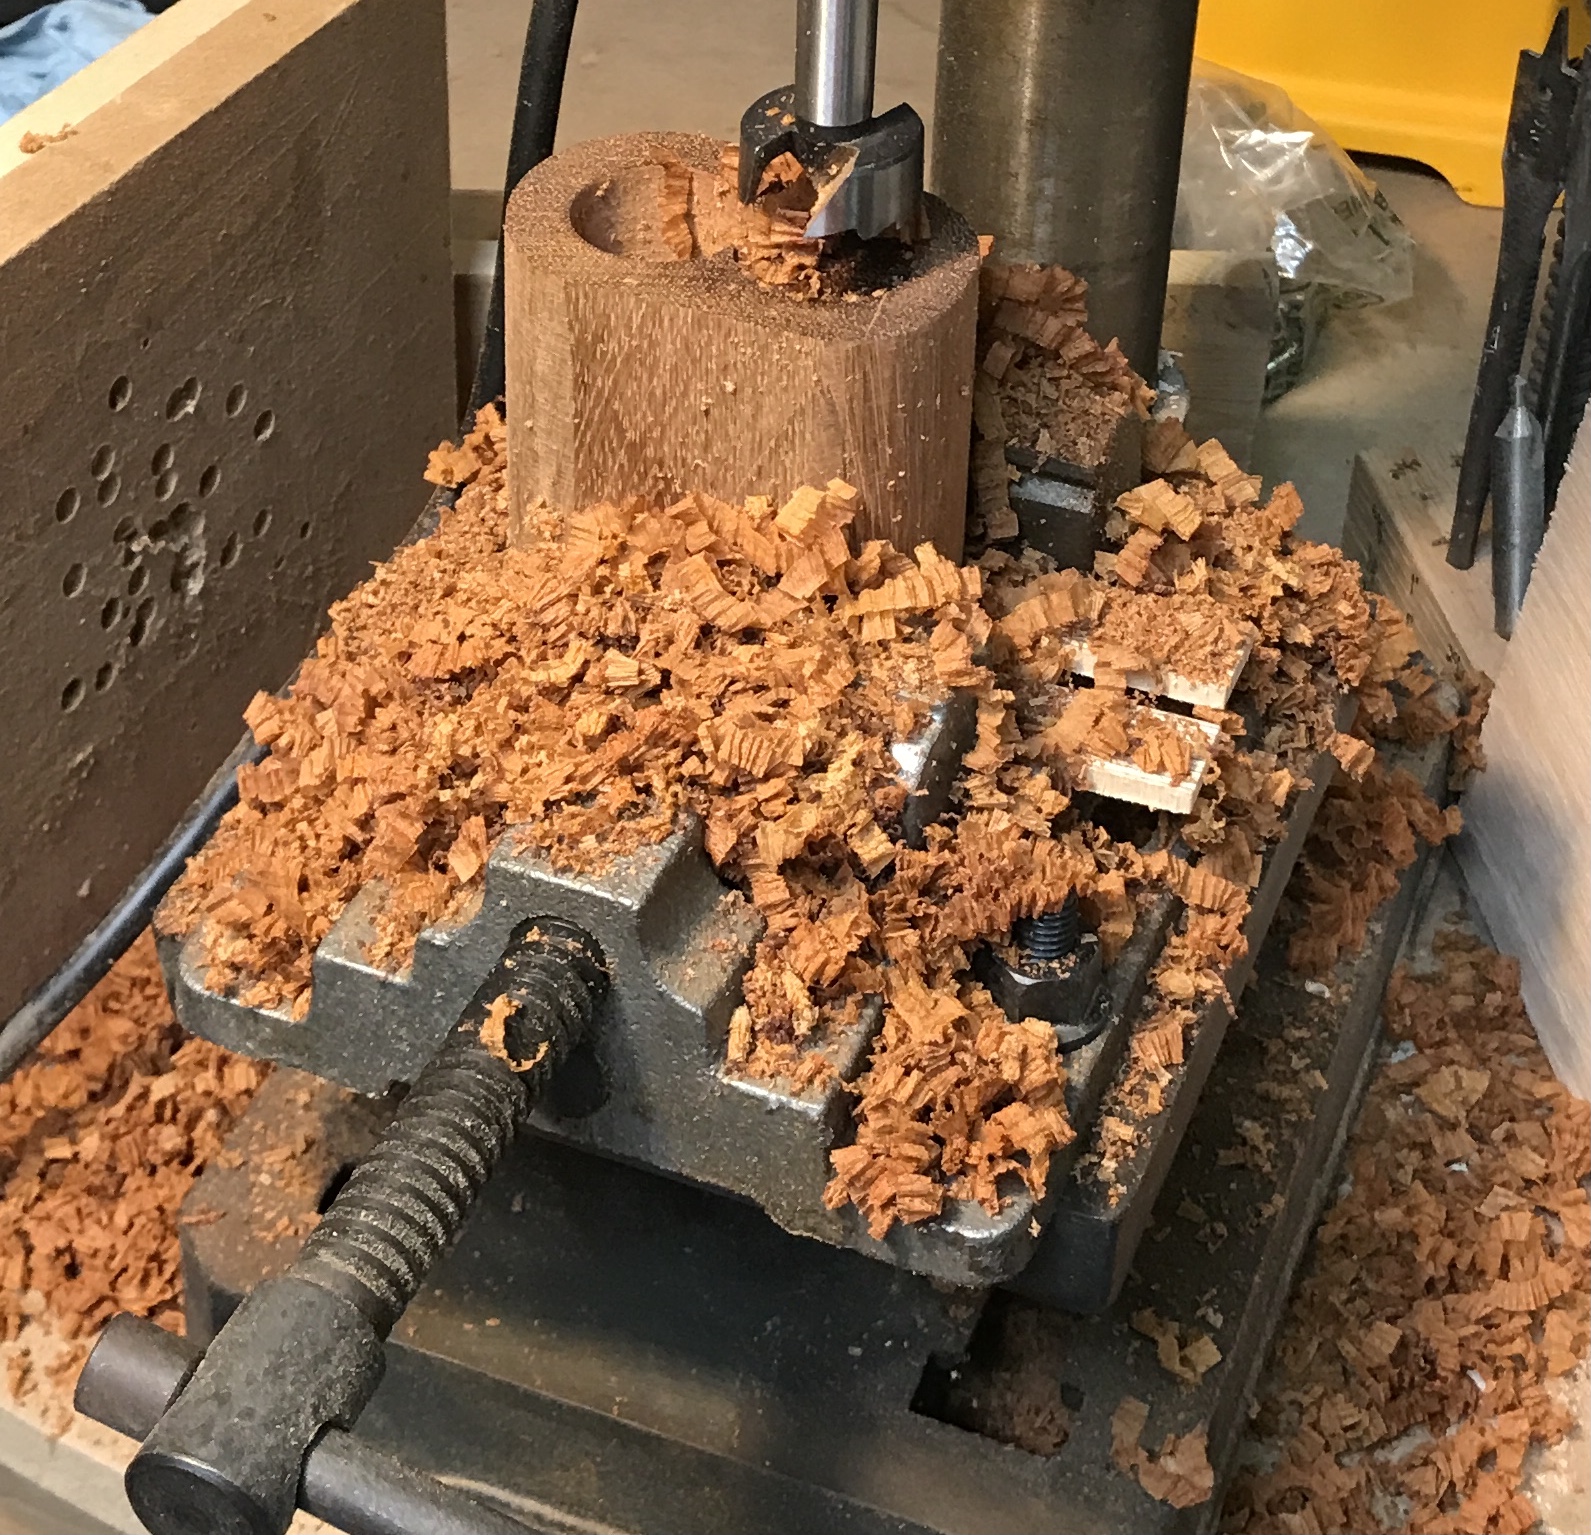
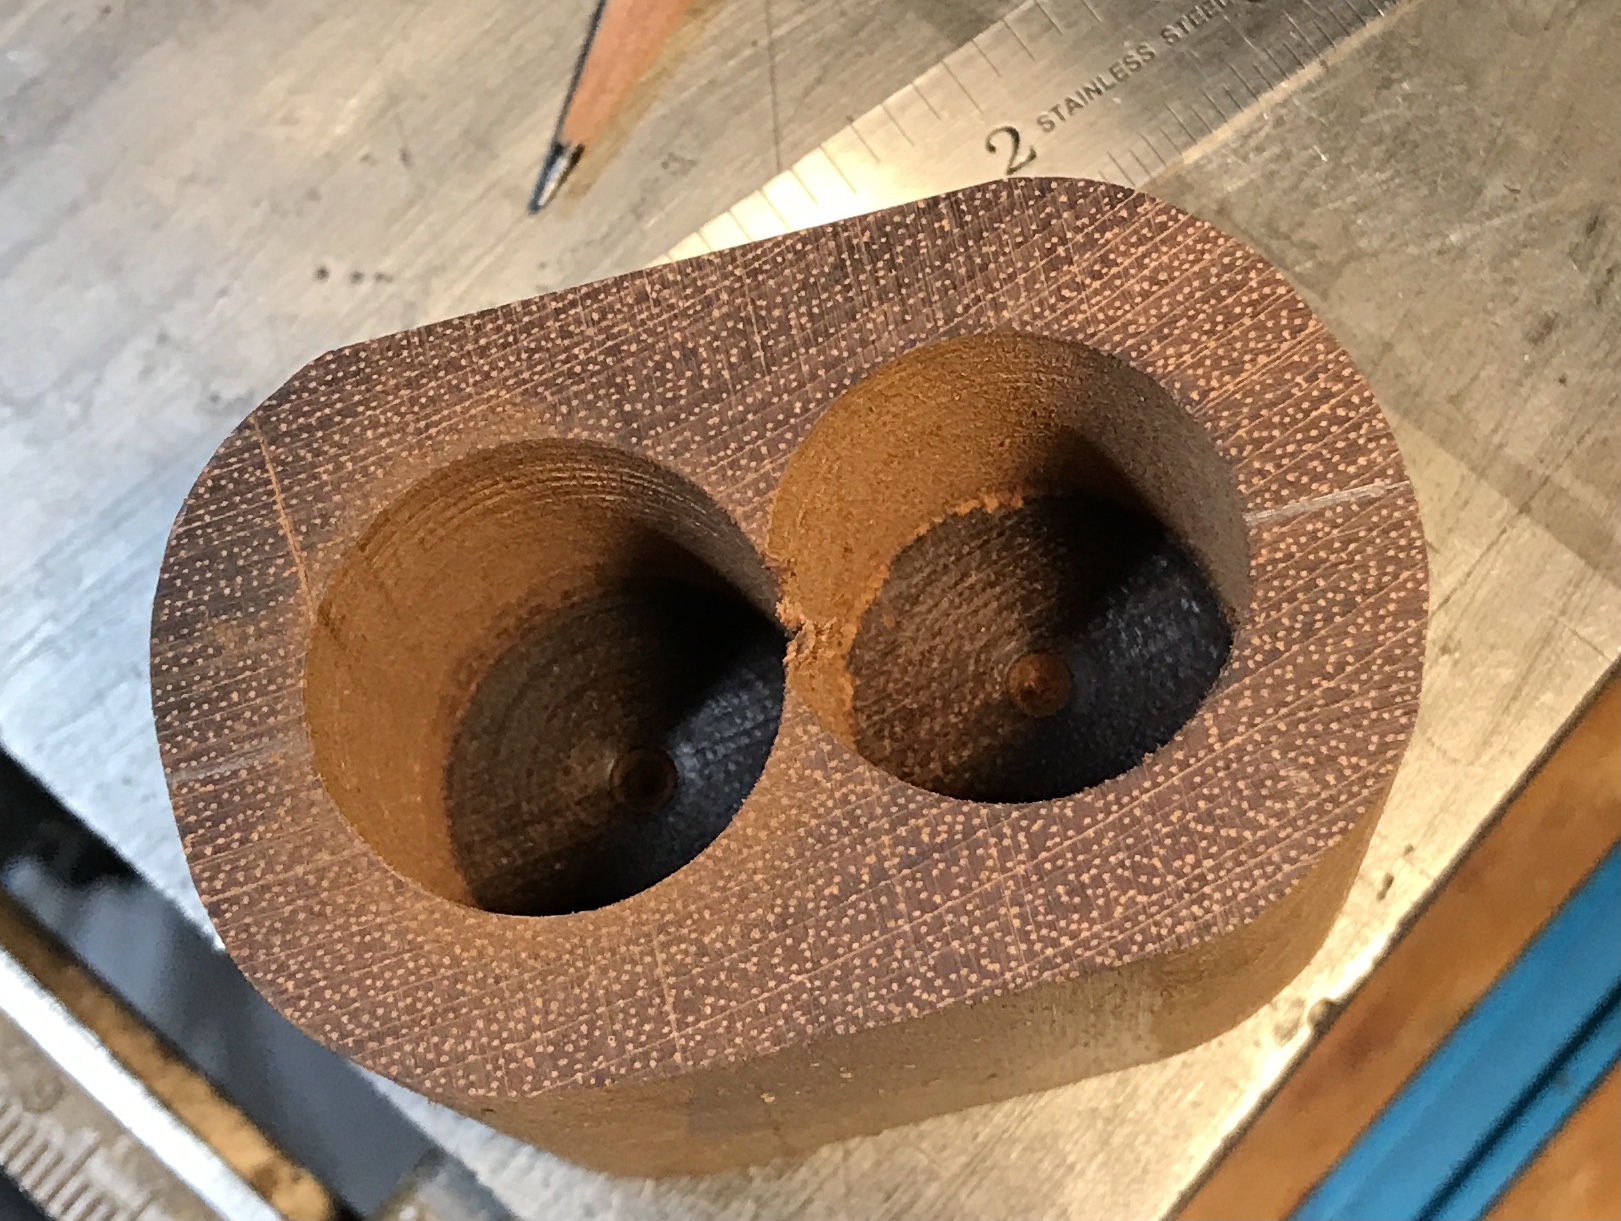
The block of wood was squared up with the table saw. The ends were sanded with the belt sander. The ends were marked for rounded corners with the lid of the water jar, which was just barely larger than the width of the block. The corners were then sanded round with the belt sander. The flat sides were sanded on the belt sander as well. The block was marked and punched on center and 3/8" in from the end for two 1 1/8" holes. It was set up in the vise on the drill press. A Forstner bit was used to drill in 1/8" increments. Any further at one time and the wood started smoking. After each pass the drill bit had to cool off. This was assisted by painting water on the bit until it took a second or two before evaporating. The first photo below shows the drilling in progress on the second of the two holes. The first hole could only be drilled about 1 1/2" before the spindle was fully extended. After both holes were drilled to this depth the table was raised with the drill bit inside. The drilling was completed without cooling to a depth of 2 1/4". The second photo shows the completed drilling, which took over an hour.
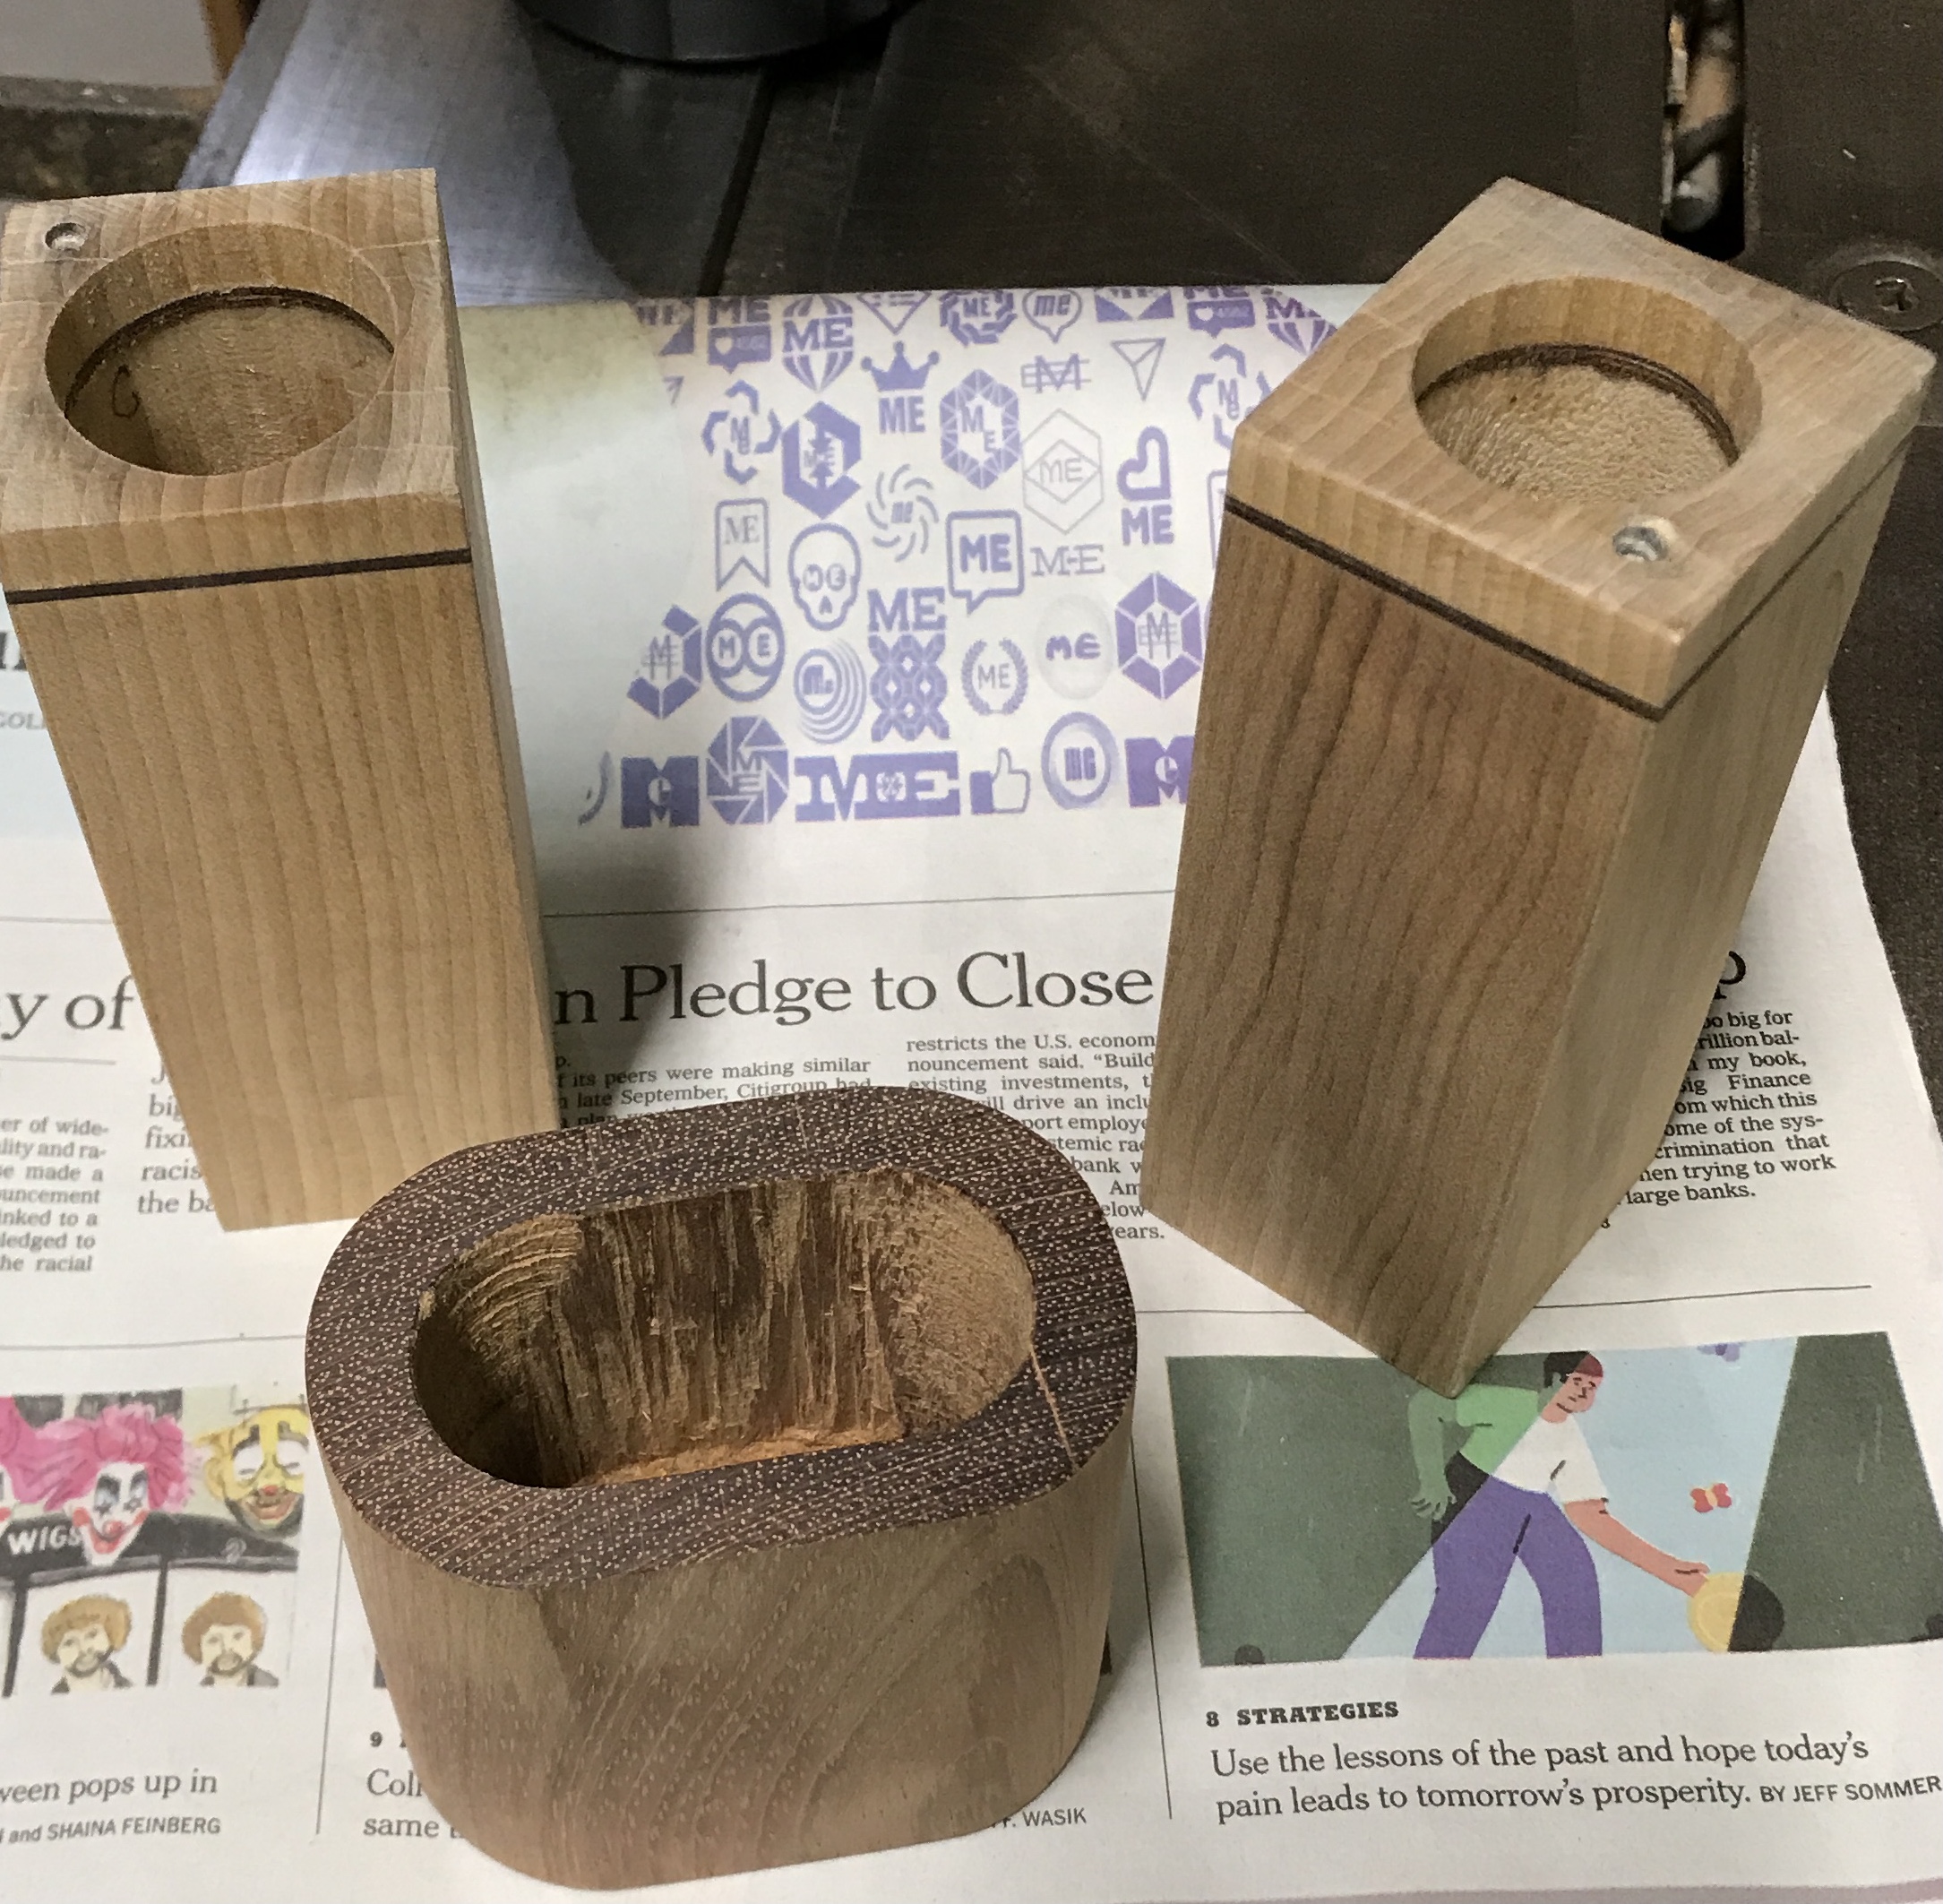
The hole was opened up with a 3/4" chisel. The vee between the holes was chopped out with the chisel to lines tangent to the holes. A lot of digging was needed to make the bottom reasonably flat. The inside flat sides of the hole were sanded with 120 grit paper. The outside was sanded with 120 and 220 grit paper. The dice cup is shown in the photo below flanked by the two piece holders. All three are ready for their coat of lacquer, which was applied with a brush.
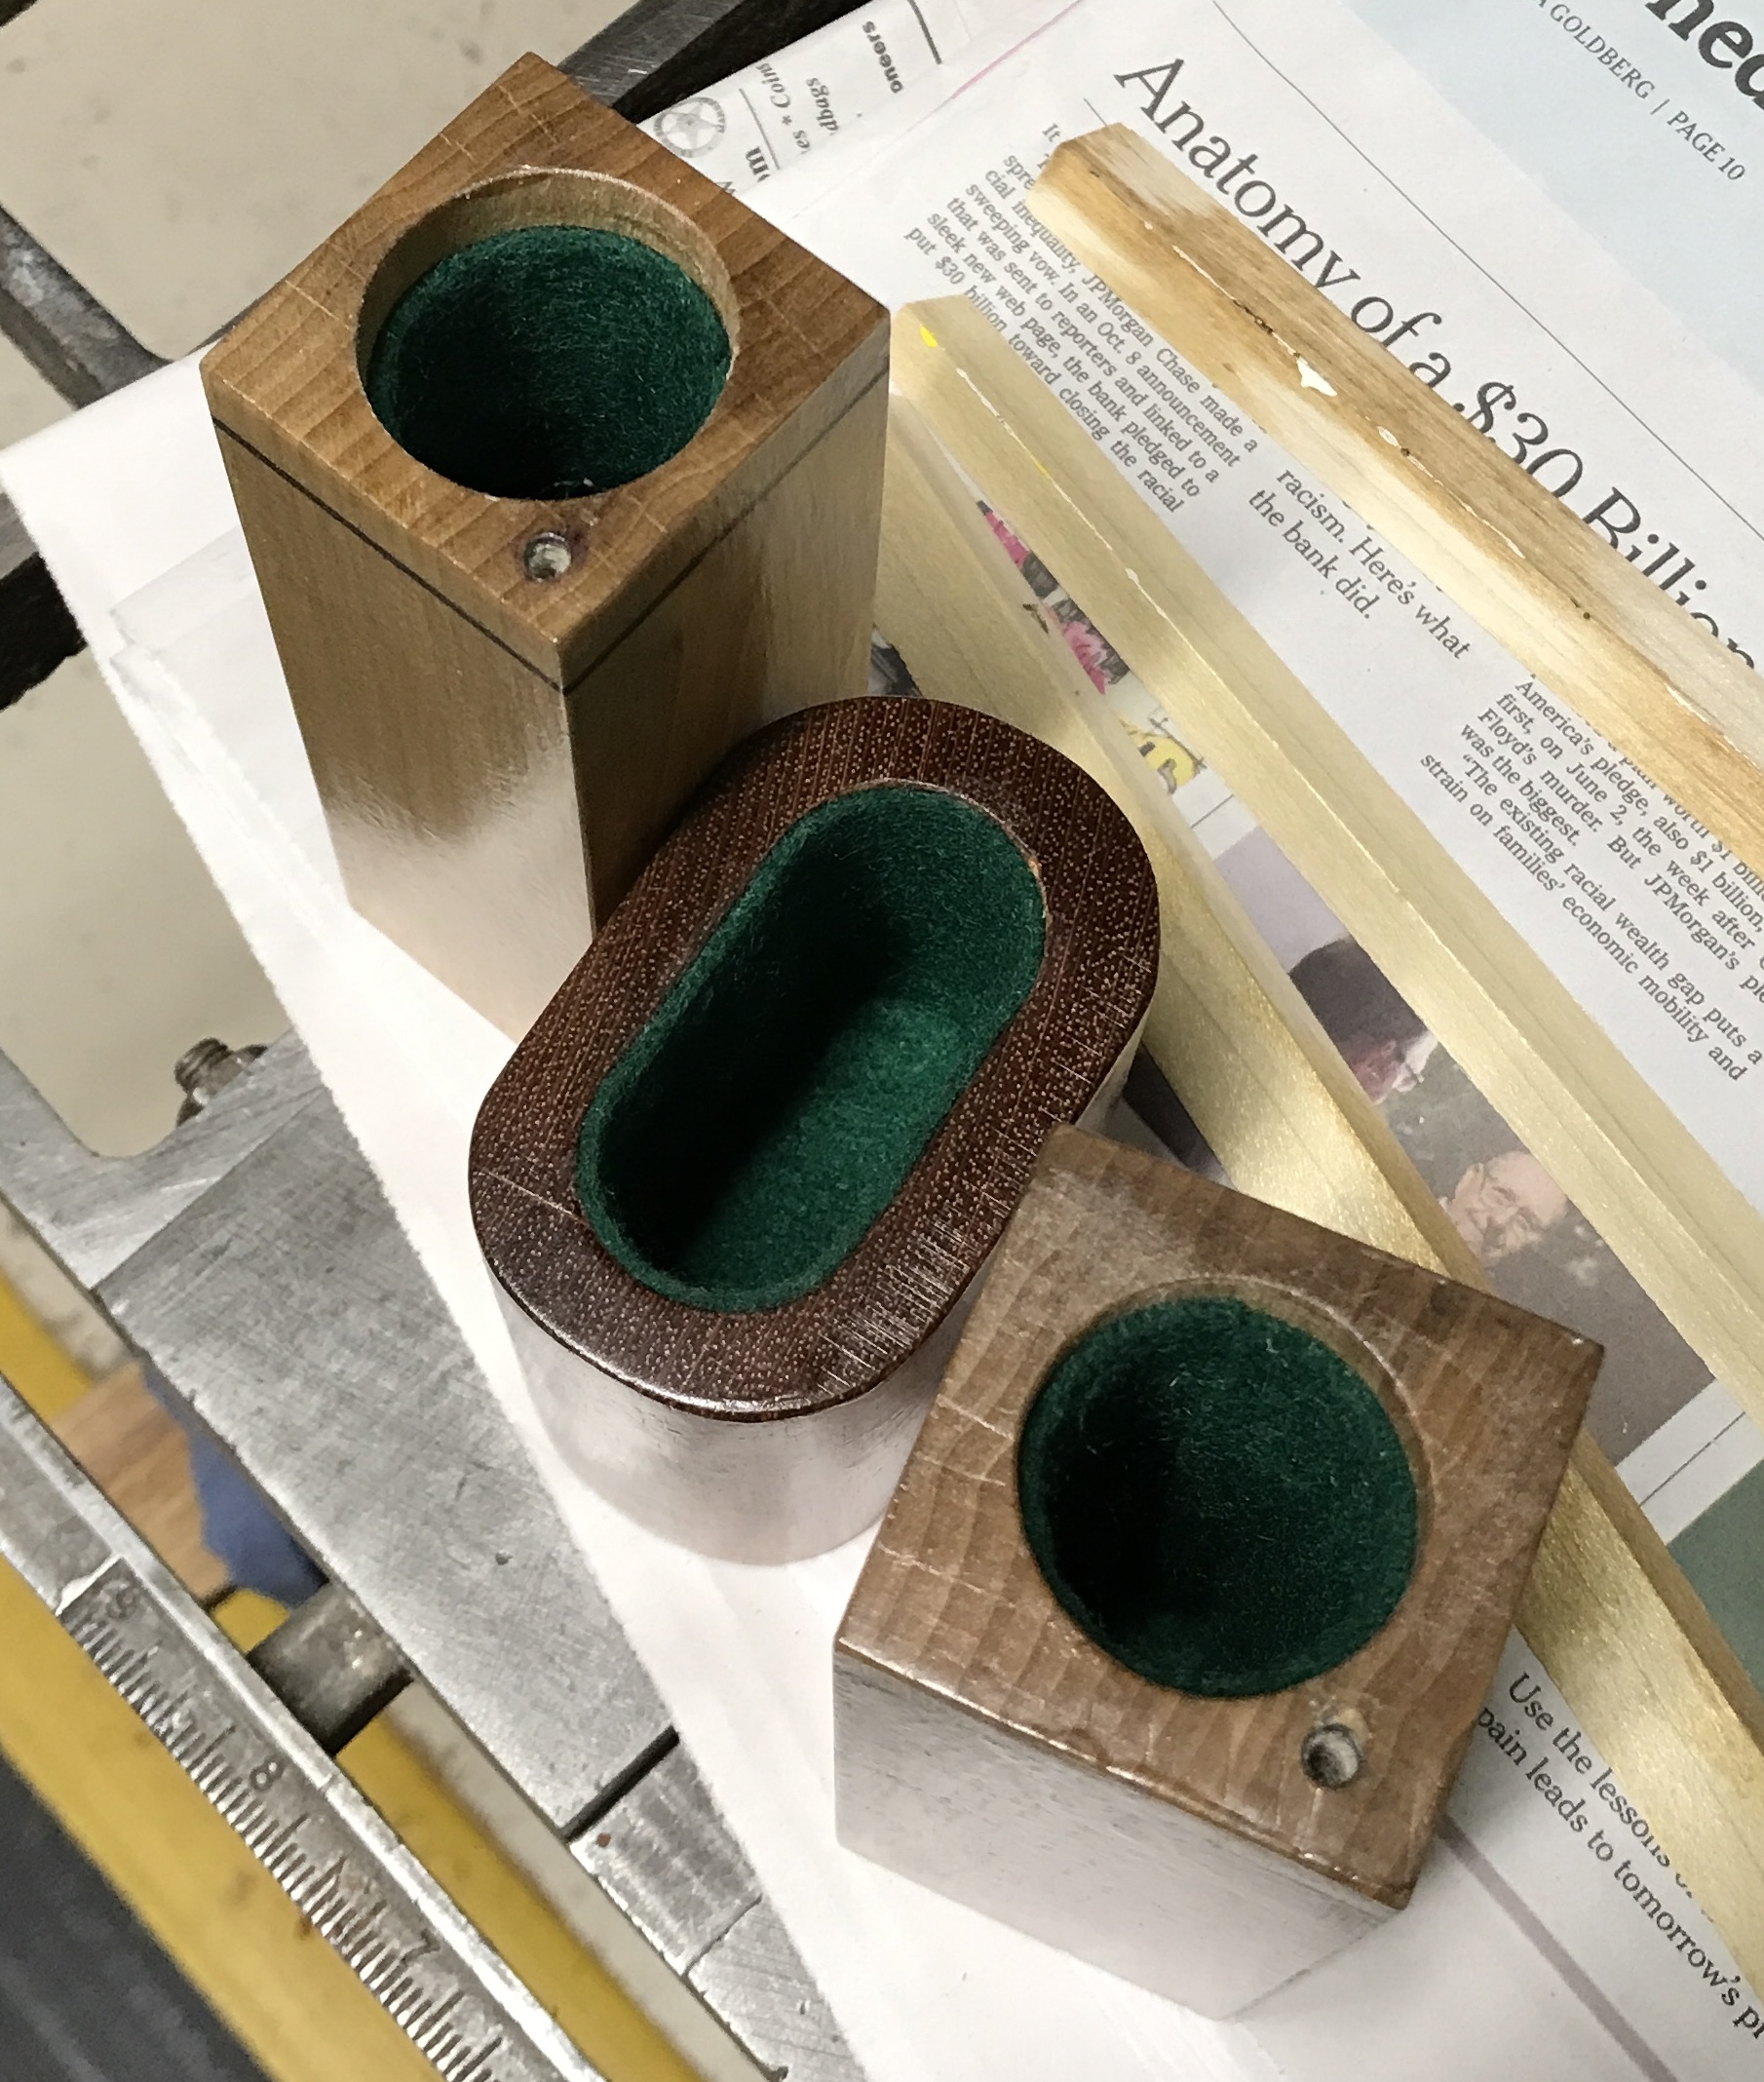
Three coats of lacquer with two hours between coats completed the sides. The bottoms and top edges were lacquered a day later and only received two coats of lacquer. A little more material was removed from the bottom of the dice cup with the Dremel equipped with a grinding bit. A piece of green felt was cut to fit the bottom of the cup. Glue was spread on the bottom and the piece of felt was pressed in place. A slip of paper was used to determine the size of the opening and a piece of felt was cut to that length and the inside height of the cup. Glue was spread around the walls with a disposable brush and the felt was pressed in place. The bottoms of the piece holders were also felted as well as the sides. The picture below shows the felted trio.
Before the glue dried an attempt was made to put pieces in the felted containers. The pieces don't fit! The felt is too thick. The felt on the sides was ripped out. I put all of the pieces in their respective holders. Two of the cat pieces were too big to fit even without the felt. A sanding drum was used to open the top of the holder, whose opening was a little smaller than the rest of the holder. The two offending pieces now fit well.
The lids were put on and the screws installed. The screws were tightened sufficiently that the lids move, but were a tight fit. The orientation of the screw's slot was noted in each case. The screws were removed and a drop of two part epoxy was put into each screw hole. The lids and screws were reinstalled with the slots returning to the orientations noted. After drying overnight the lids open smoothly, but stay closed. The piece holders are complete. They are seen with the dice cup below.